Prerequisites
To get started with Chainlink Functions and 0xCord, you will need the following:- An account on 0xCord.com: Sign up for an account on 0xCord.com to access the infrastructure and services provided by 0xCord.
- Provisioned Chainlink Functions: Follow the steps outlined in the Get started page to provision Chainlink Functions for your application.
Supported networks
Testnets
Offchain API
With 0xCord’s offchain API, you can easily consume Chainlink Functions through a simple RESTful JSON API call, bridging the gap between Web2 and decentralized Web3 infrastructure. This allows you to easily run your functions via Chainlink Functions, ensuring the integrity of the results.Using the Offchain API
To get started with the offchain API, follow these steps:-
Prepare your code: Write the JavaScript code for your Chainlink Function. This code can range from simple computations to more complex operations that involve fetching data from external API providers. For example:
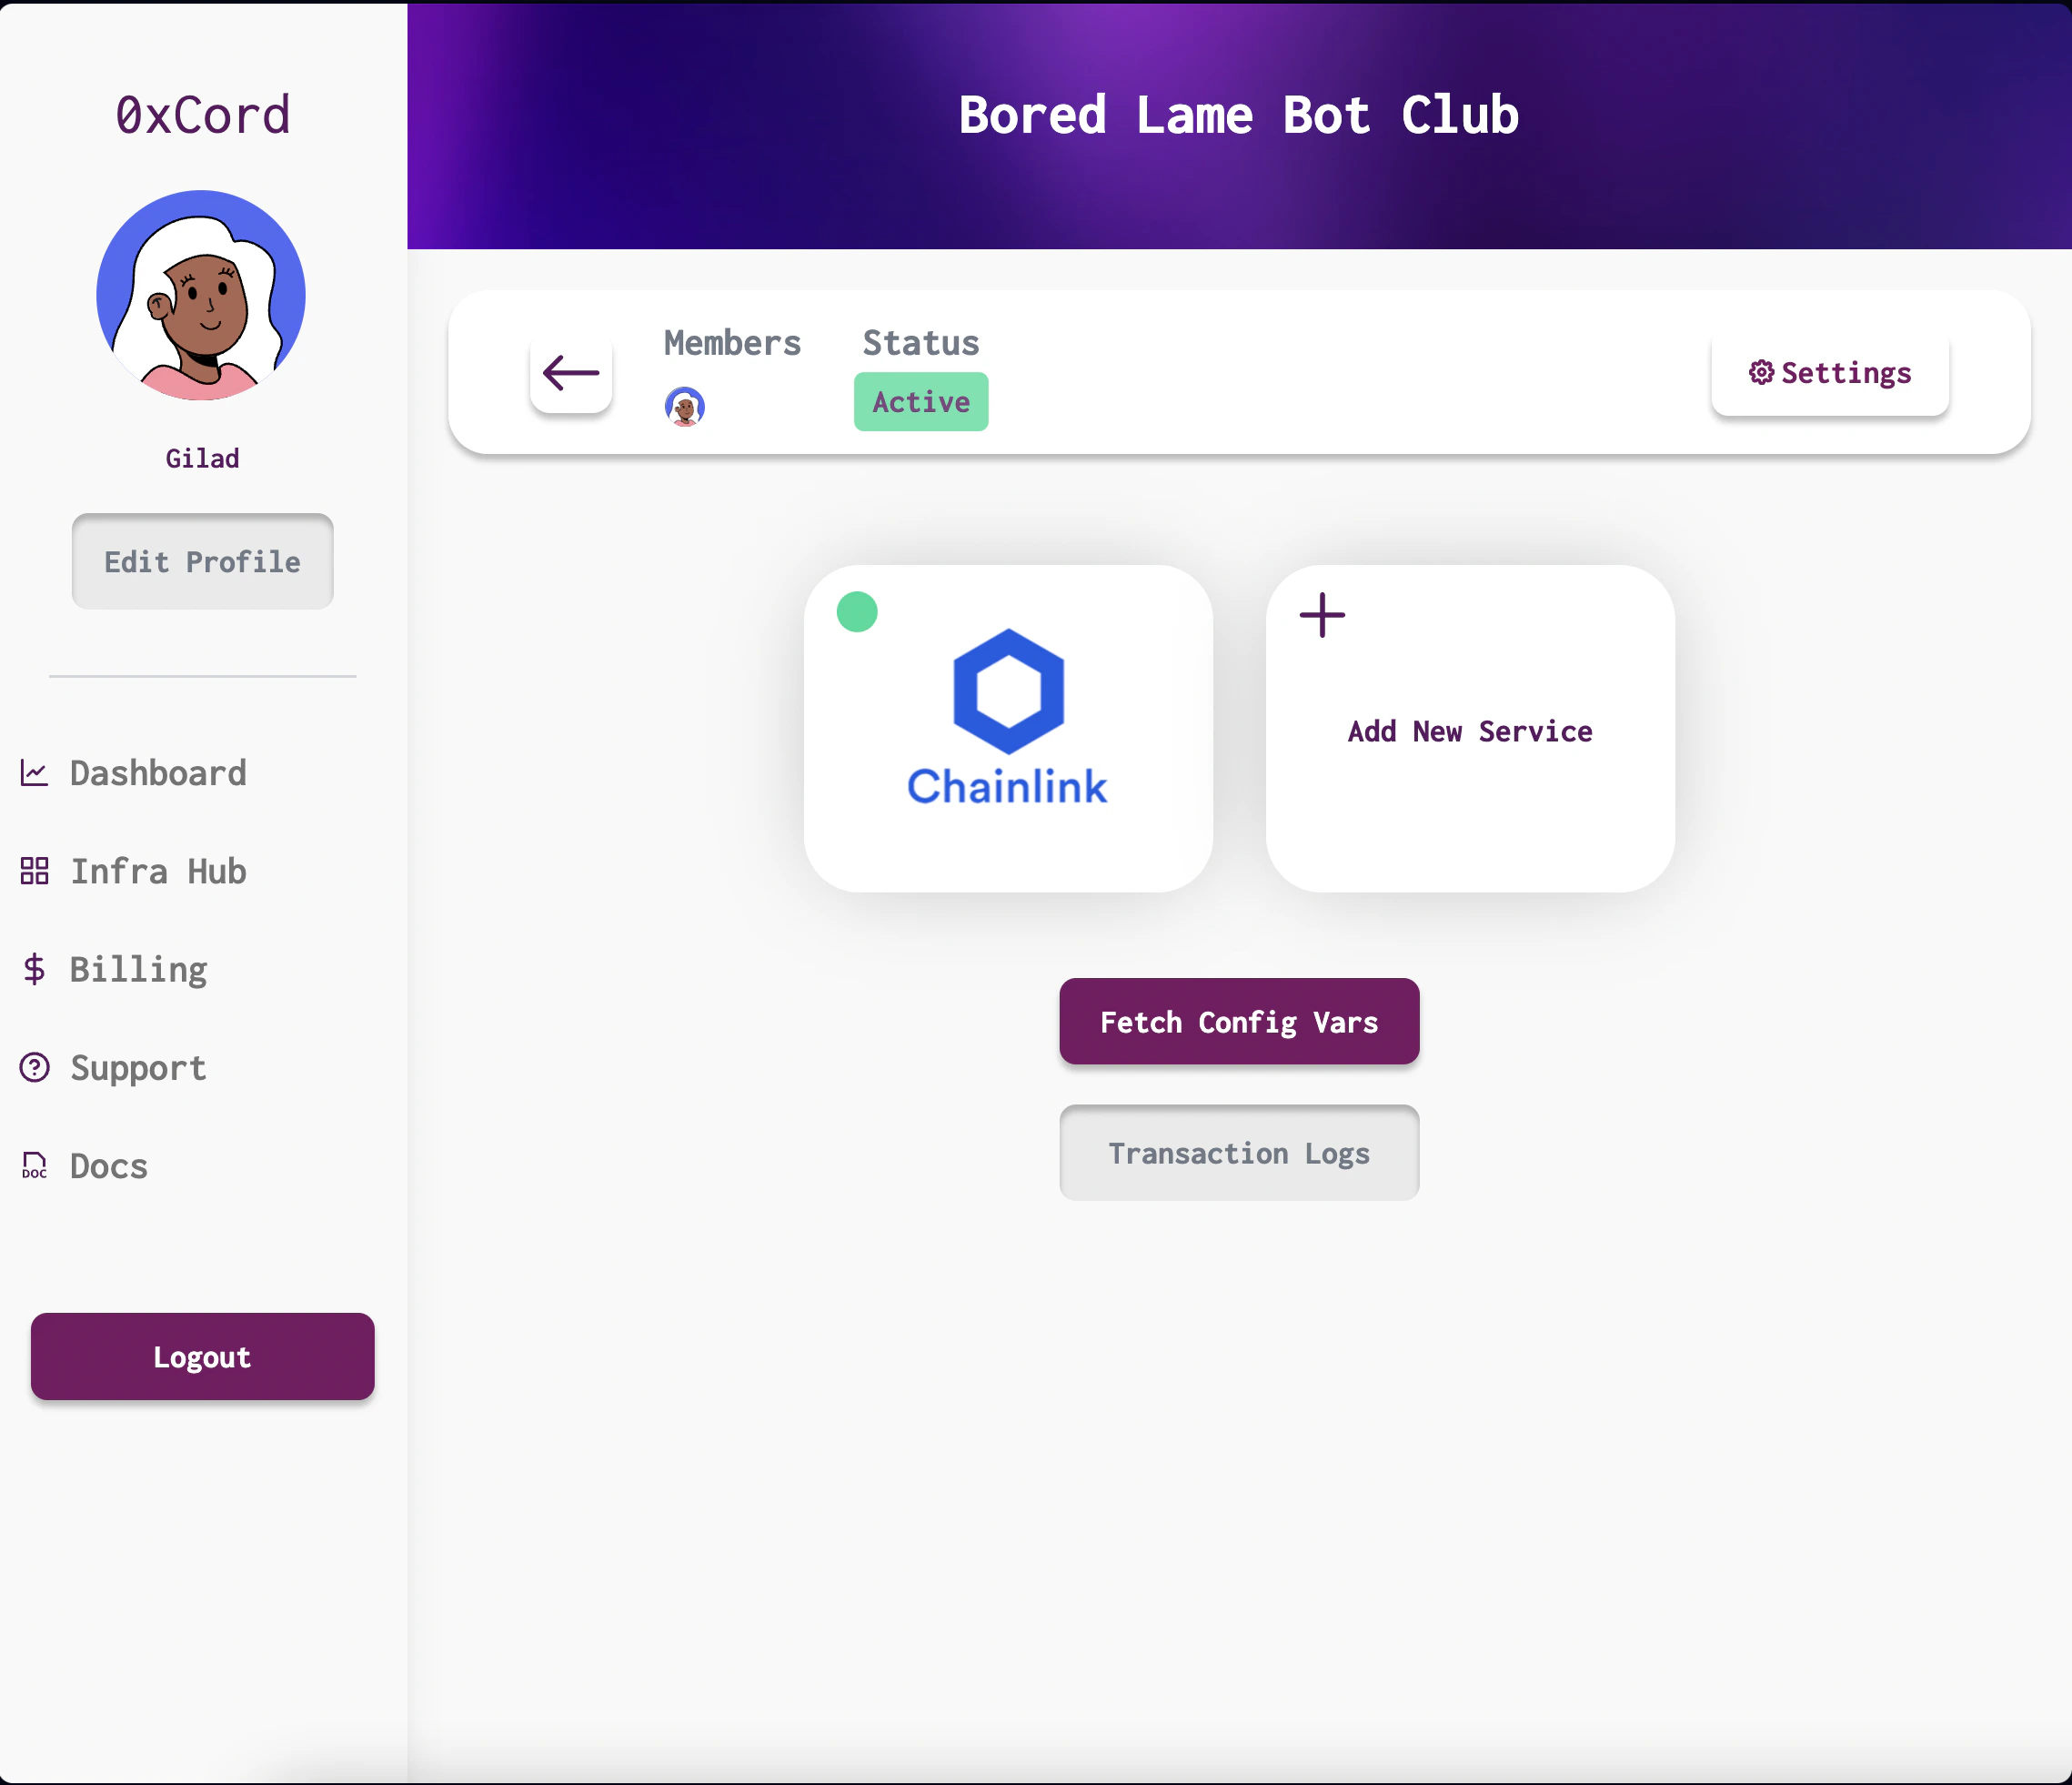
- Copy the API key from the “Fetch Config Vars” section in the 0xCord app. This API key will be used to access the 0xCord RESTful JSON API. More info.
-
In your API client, make a POST request to the Run Function” API call to submit your Chainlink Function code and any necessary parameters. The request should include the desired
network, the function code, the desired return type, and any arguments required by the function. For example:
parsedResult is provably verifiable on-chain and ready to use in your application.
API Reference
Learn more about the API endpoint for running a function
Onchain API
Usually, using Chainlink Functions onchain requires several steps, such as acquiring $LINK tokens, creating subscriptions, and managing subscription balances. But with 0xCord, we simplify the process by provisioning and managing the subscriptions for you! Here’s how to use Chainlink Functions onchain with 0xCord.Using the Onchain API
To get started with the onchain API, follow these steps:-
Copy Subscription ID:
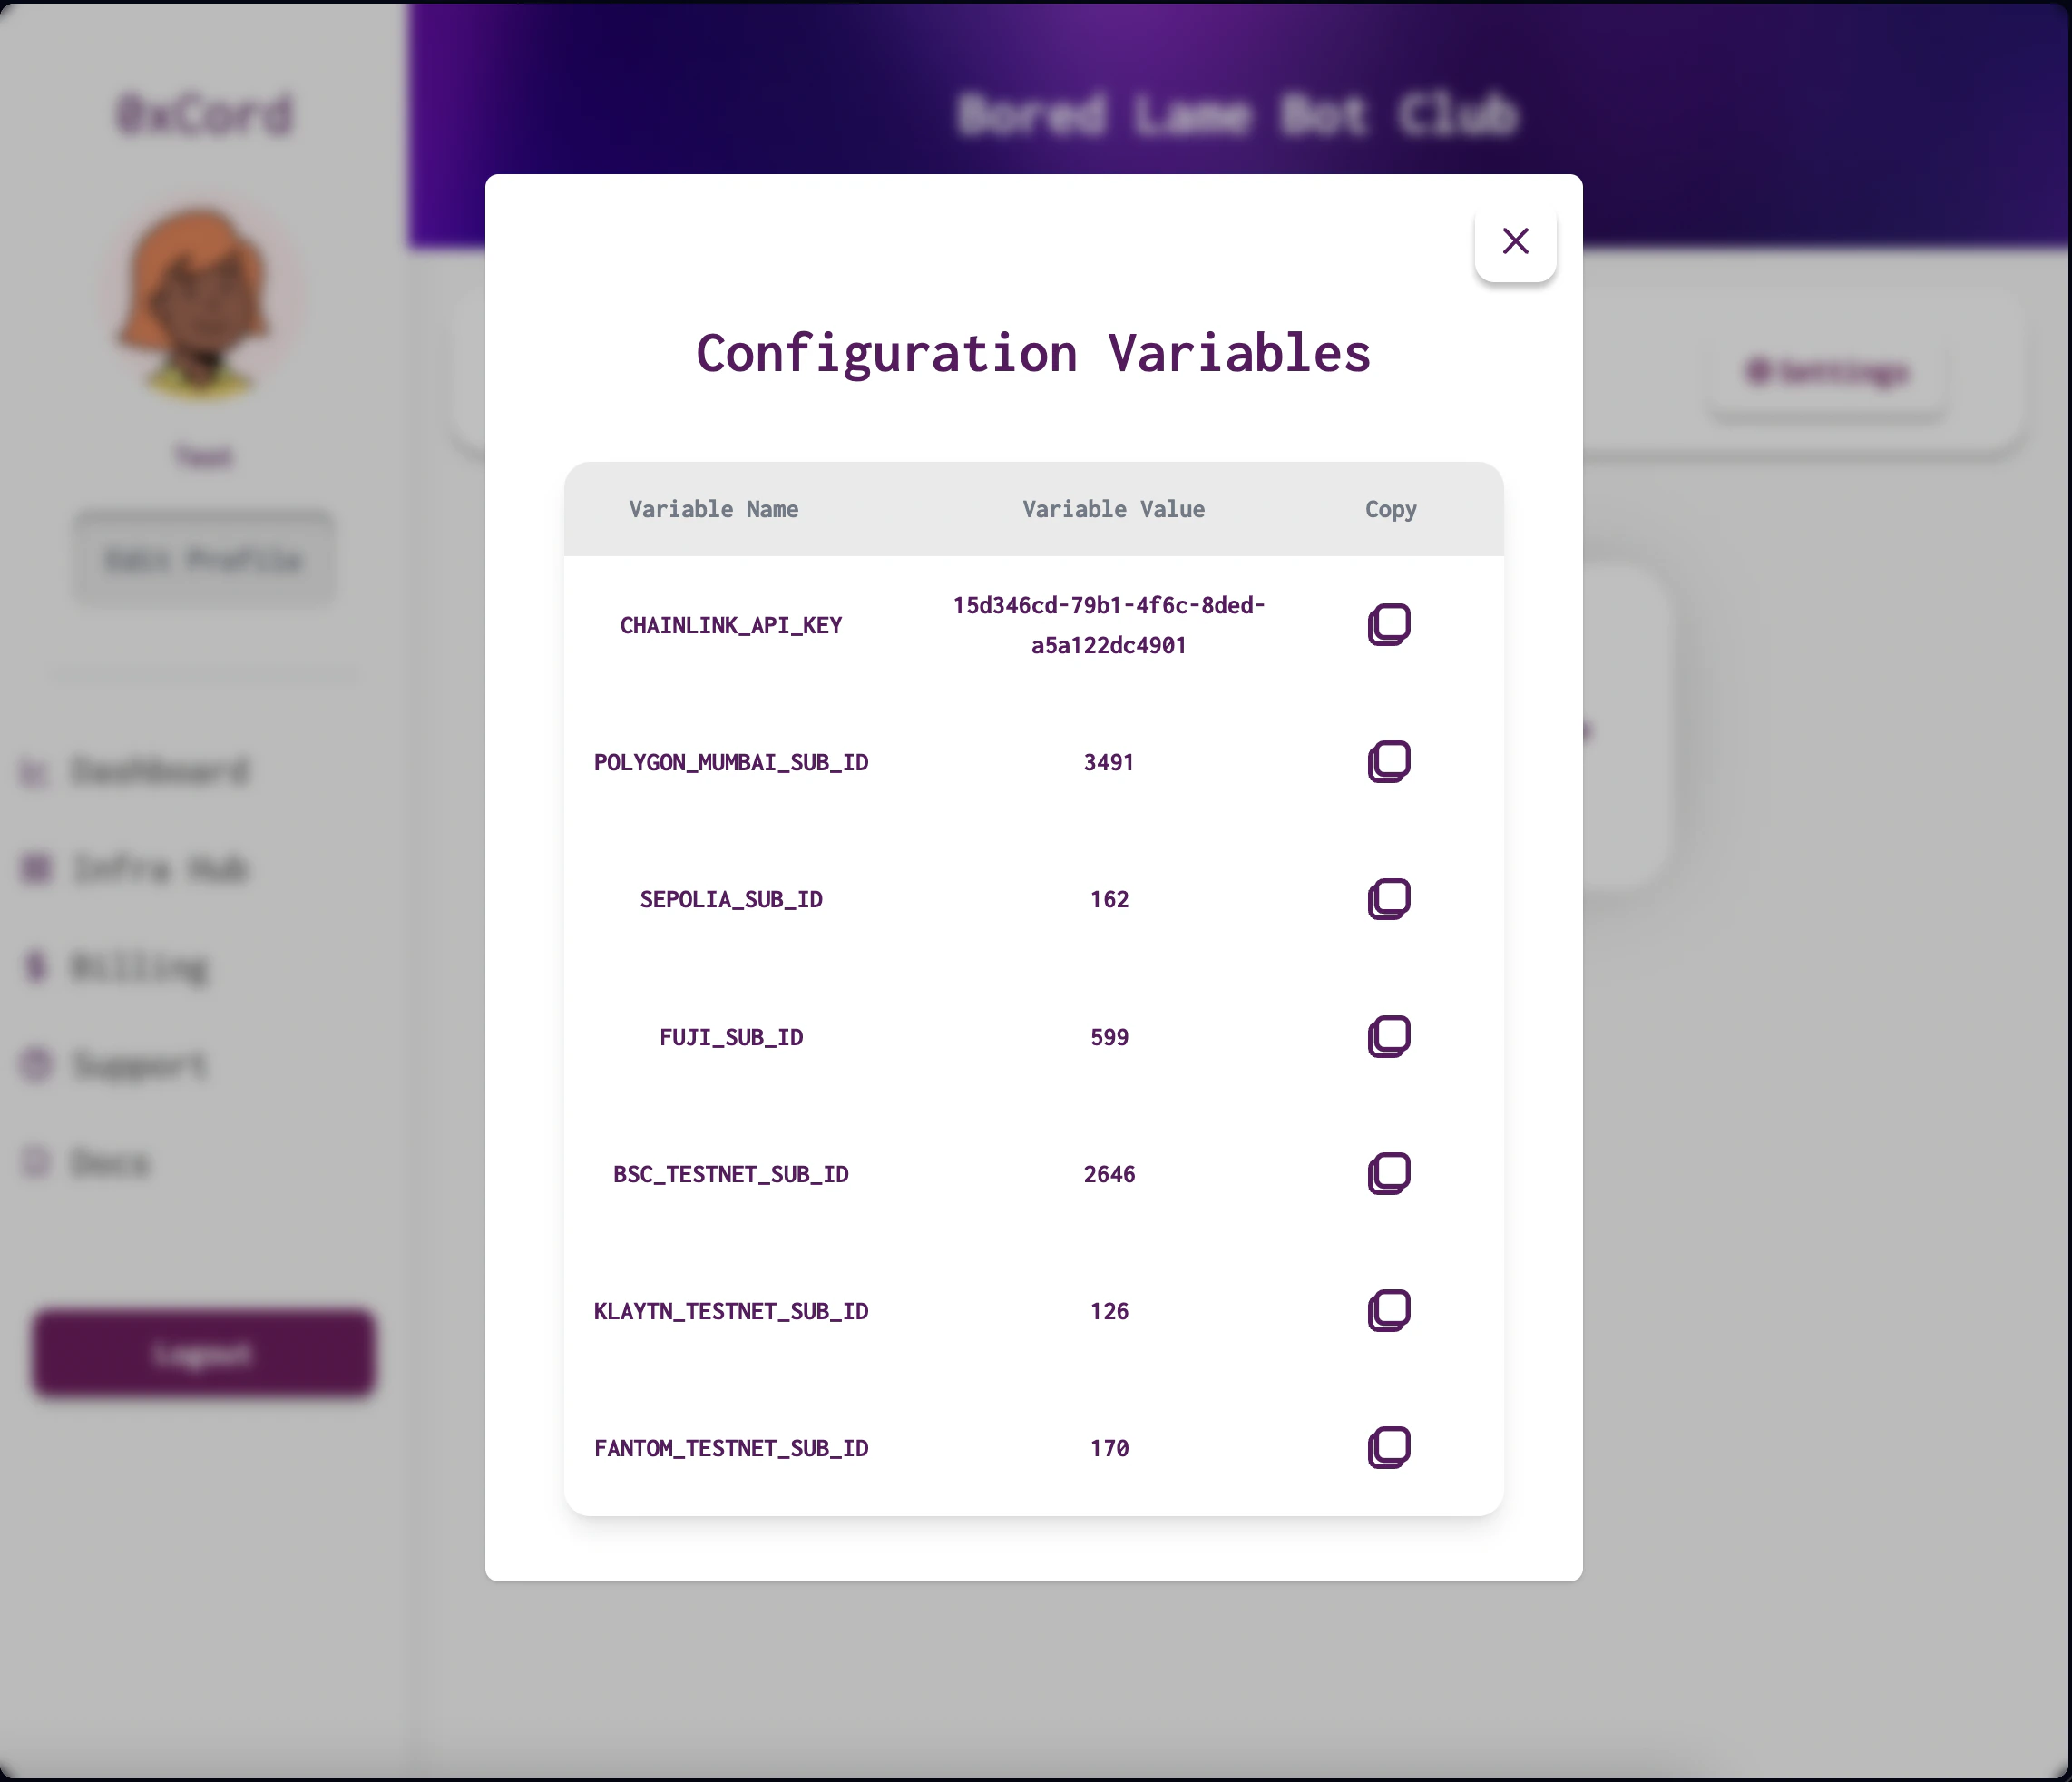
- On the Dapp page, click on “Fetch Config Vars” to view the fully-funded subscriptions that are ready to use.
- Identify the subscription ID for the chain where you’ll be deploying your contract. For example, on Polygon Mumbai, the subscription ID might be
2894.
-
Configure Your Deployment:
- If you’re following a Chainlink VRF tutorial, use the copied subscription ID in the deployment configuration.
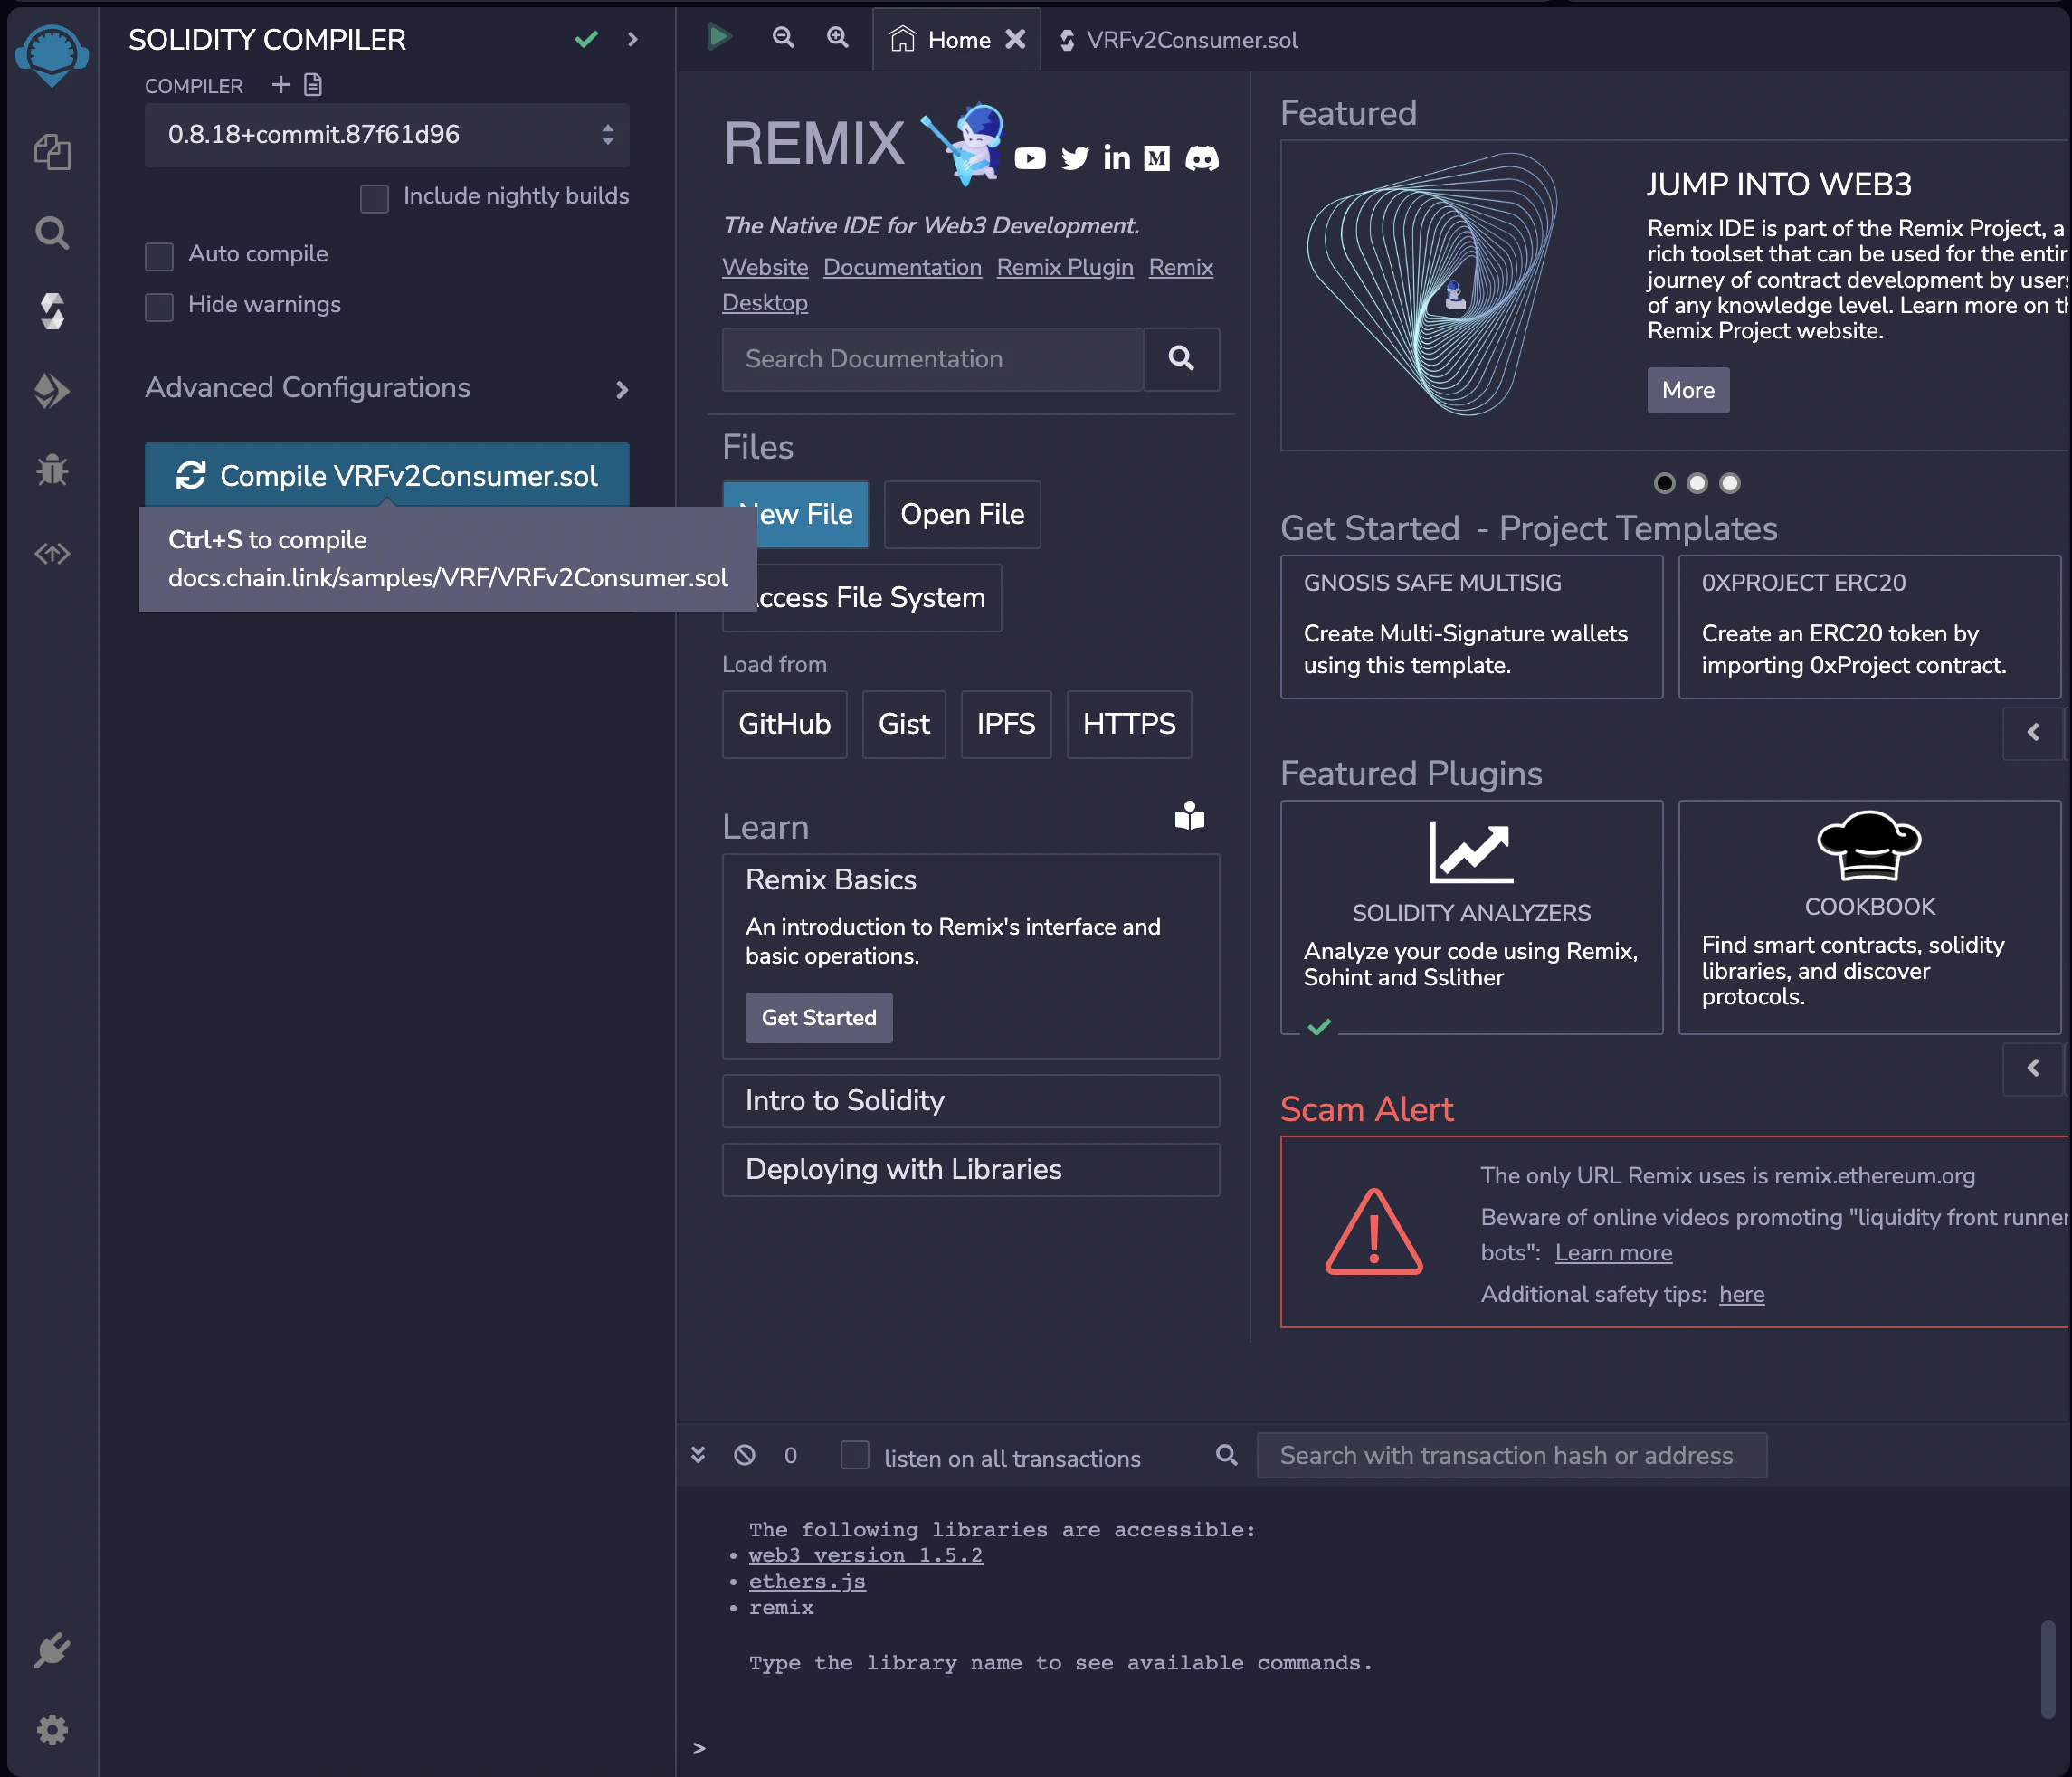
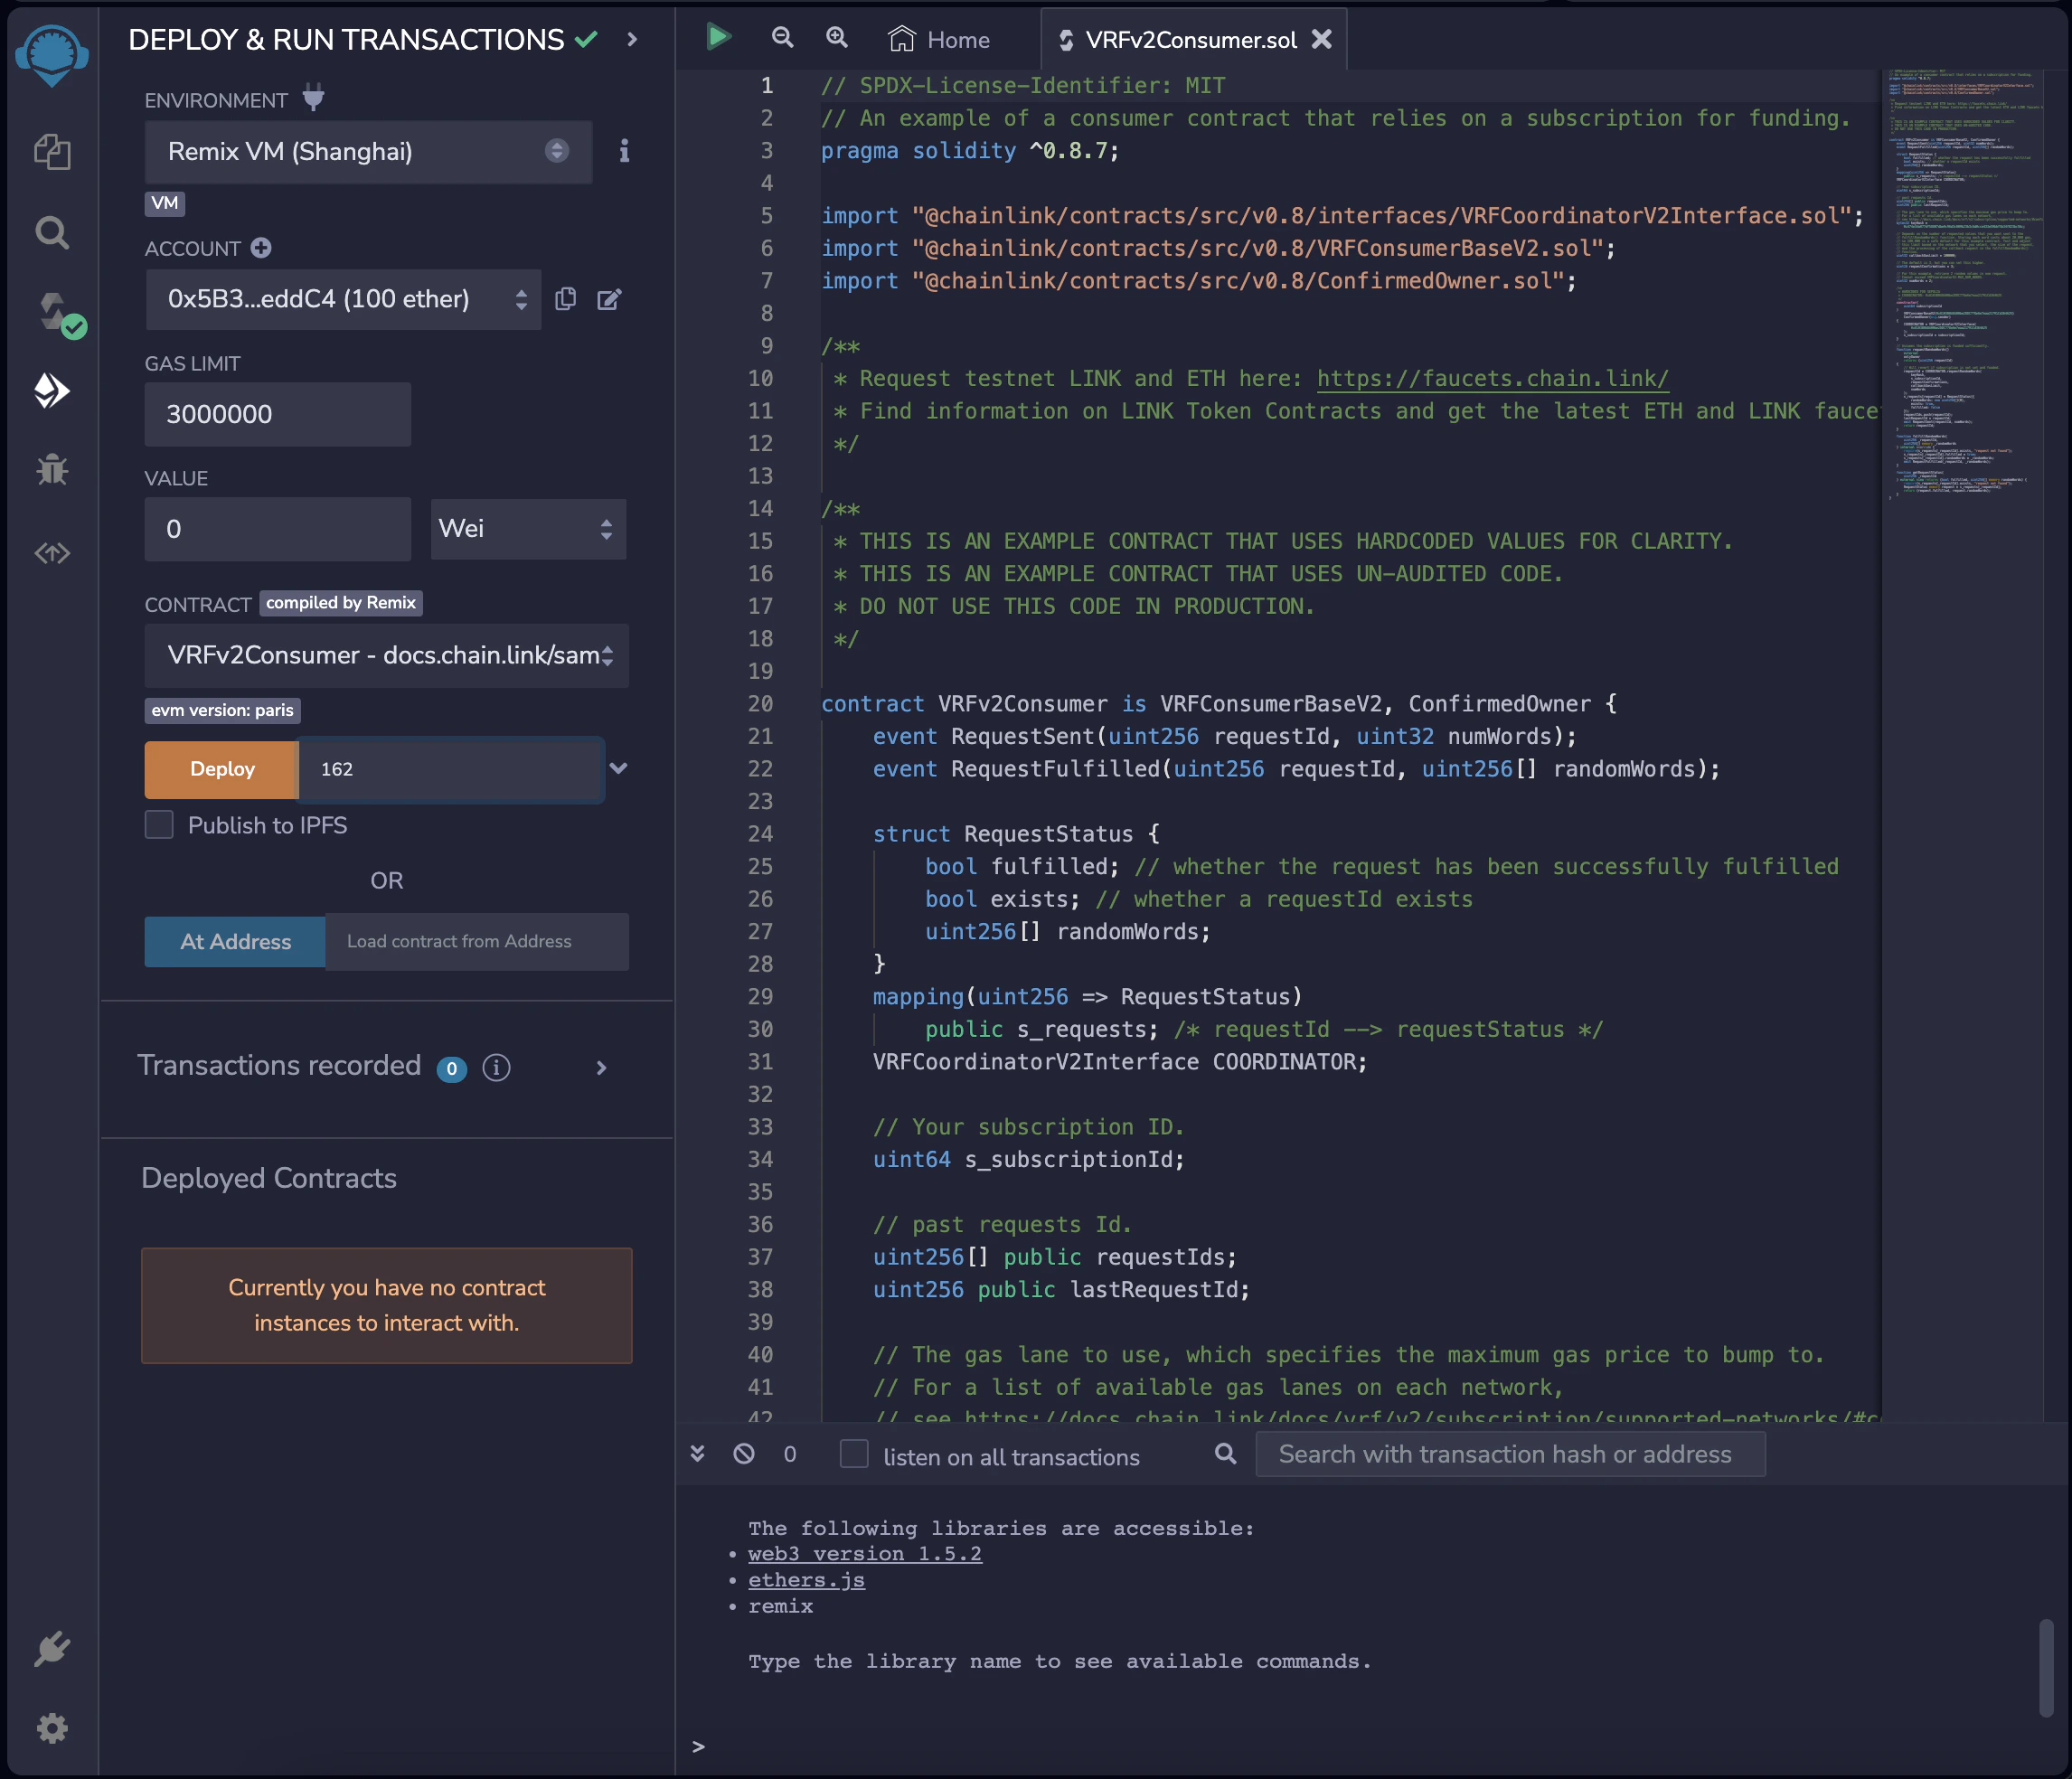
- In Remix’s Deploy tab, select the Injected Provider environment and choose the
VRFv2Consumercontract from the contract list. - Specify the
subscription IDin the constructor of your contract. - Press the orange deploy button. Metamask will prompt you to sign the transaction. This will deploy the smart contract configured with 0xCord’s Chainlink subscription.
- Link Your Consumer to the Subscription:
-
Option 1: Using the 0xCord App:
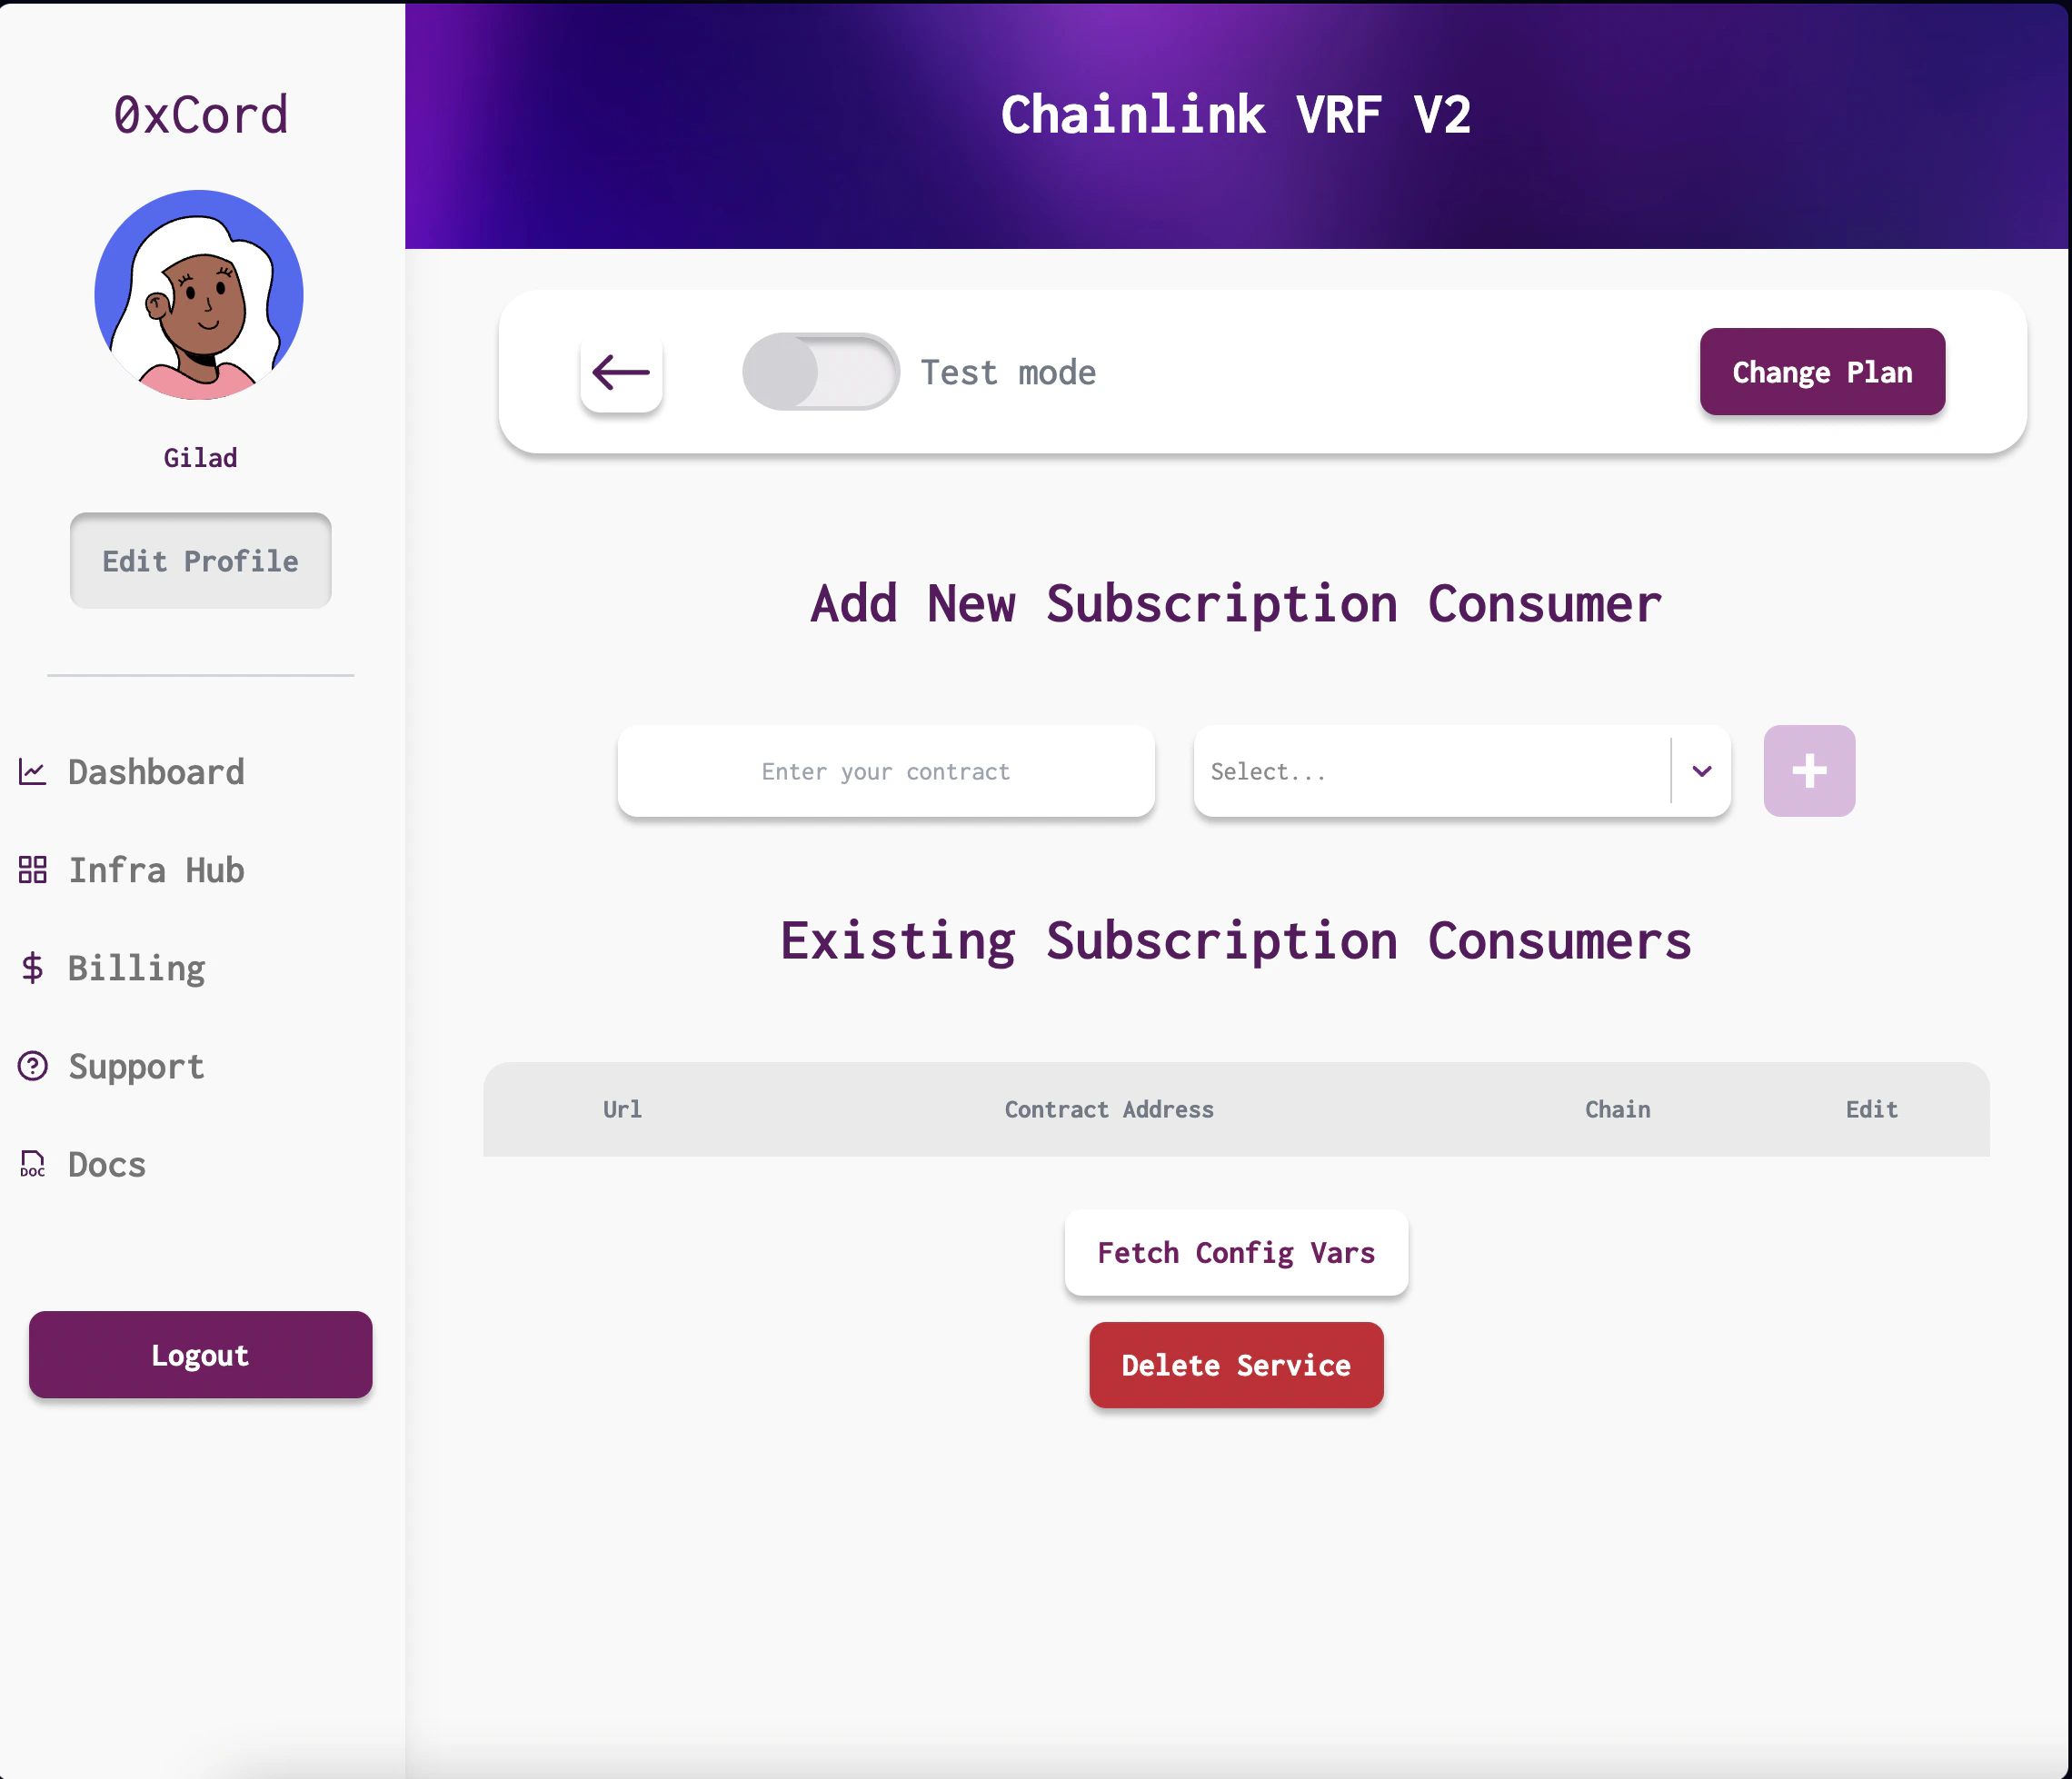
- Open the 0xCord app and locate the gears icon on the Chainlink instance to open the ChainLink Subscription Consumers modal.
- Enter your contract address, select the chain from the dropdown, and click save. This will create a transaction linking your consumer to the chain.
-
Option 2: Programmatically Linking Your Consumer:
- Go to the dapp page on 0xCord and copy the dapp ID from the URL parameters.
- Authenticate using your API key and make a POST request to the
Add Consumerendpoint, passing in the network, consumer address, and dapp ID as query parameters. For example:
Example response:You can now starting consuming random numbers from your smart contract!API Reference
Learn more about the API endpoint for adding consumers