> ## Documentation Index
> Fetch the complete documentation index at: https://docs.0xcord.com/llms.txt
> Use this file to discover all available pages before exploring further.
# Get Started
> Learn how to get started with 0xCord and provision web3 infrastructure for your first decentralized application (dApp).
## Accessing 0xCord
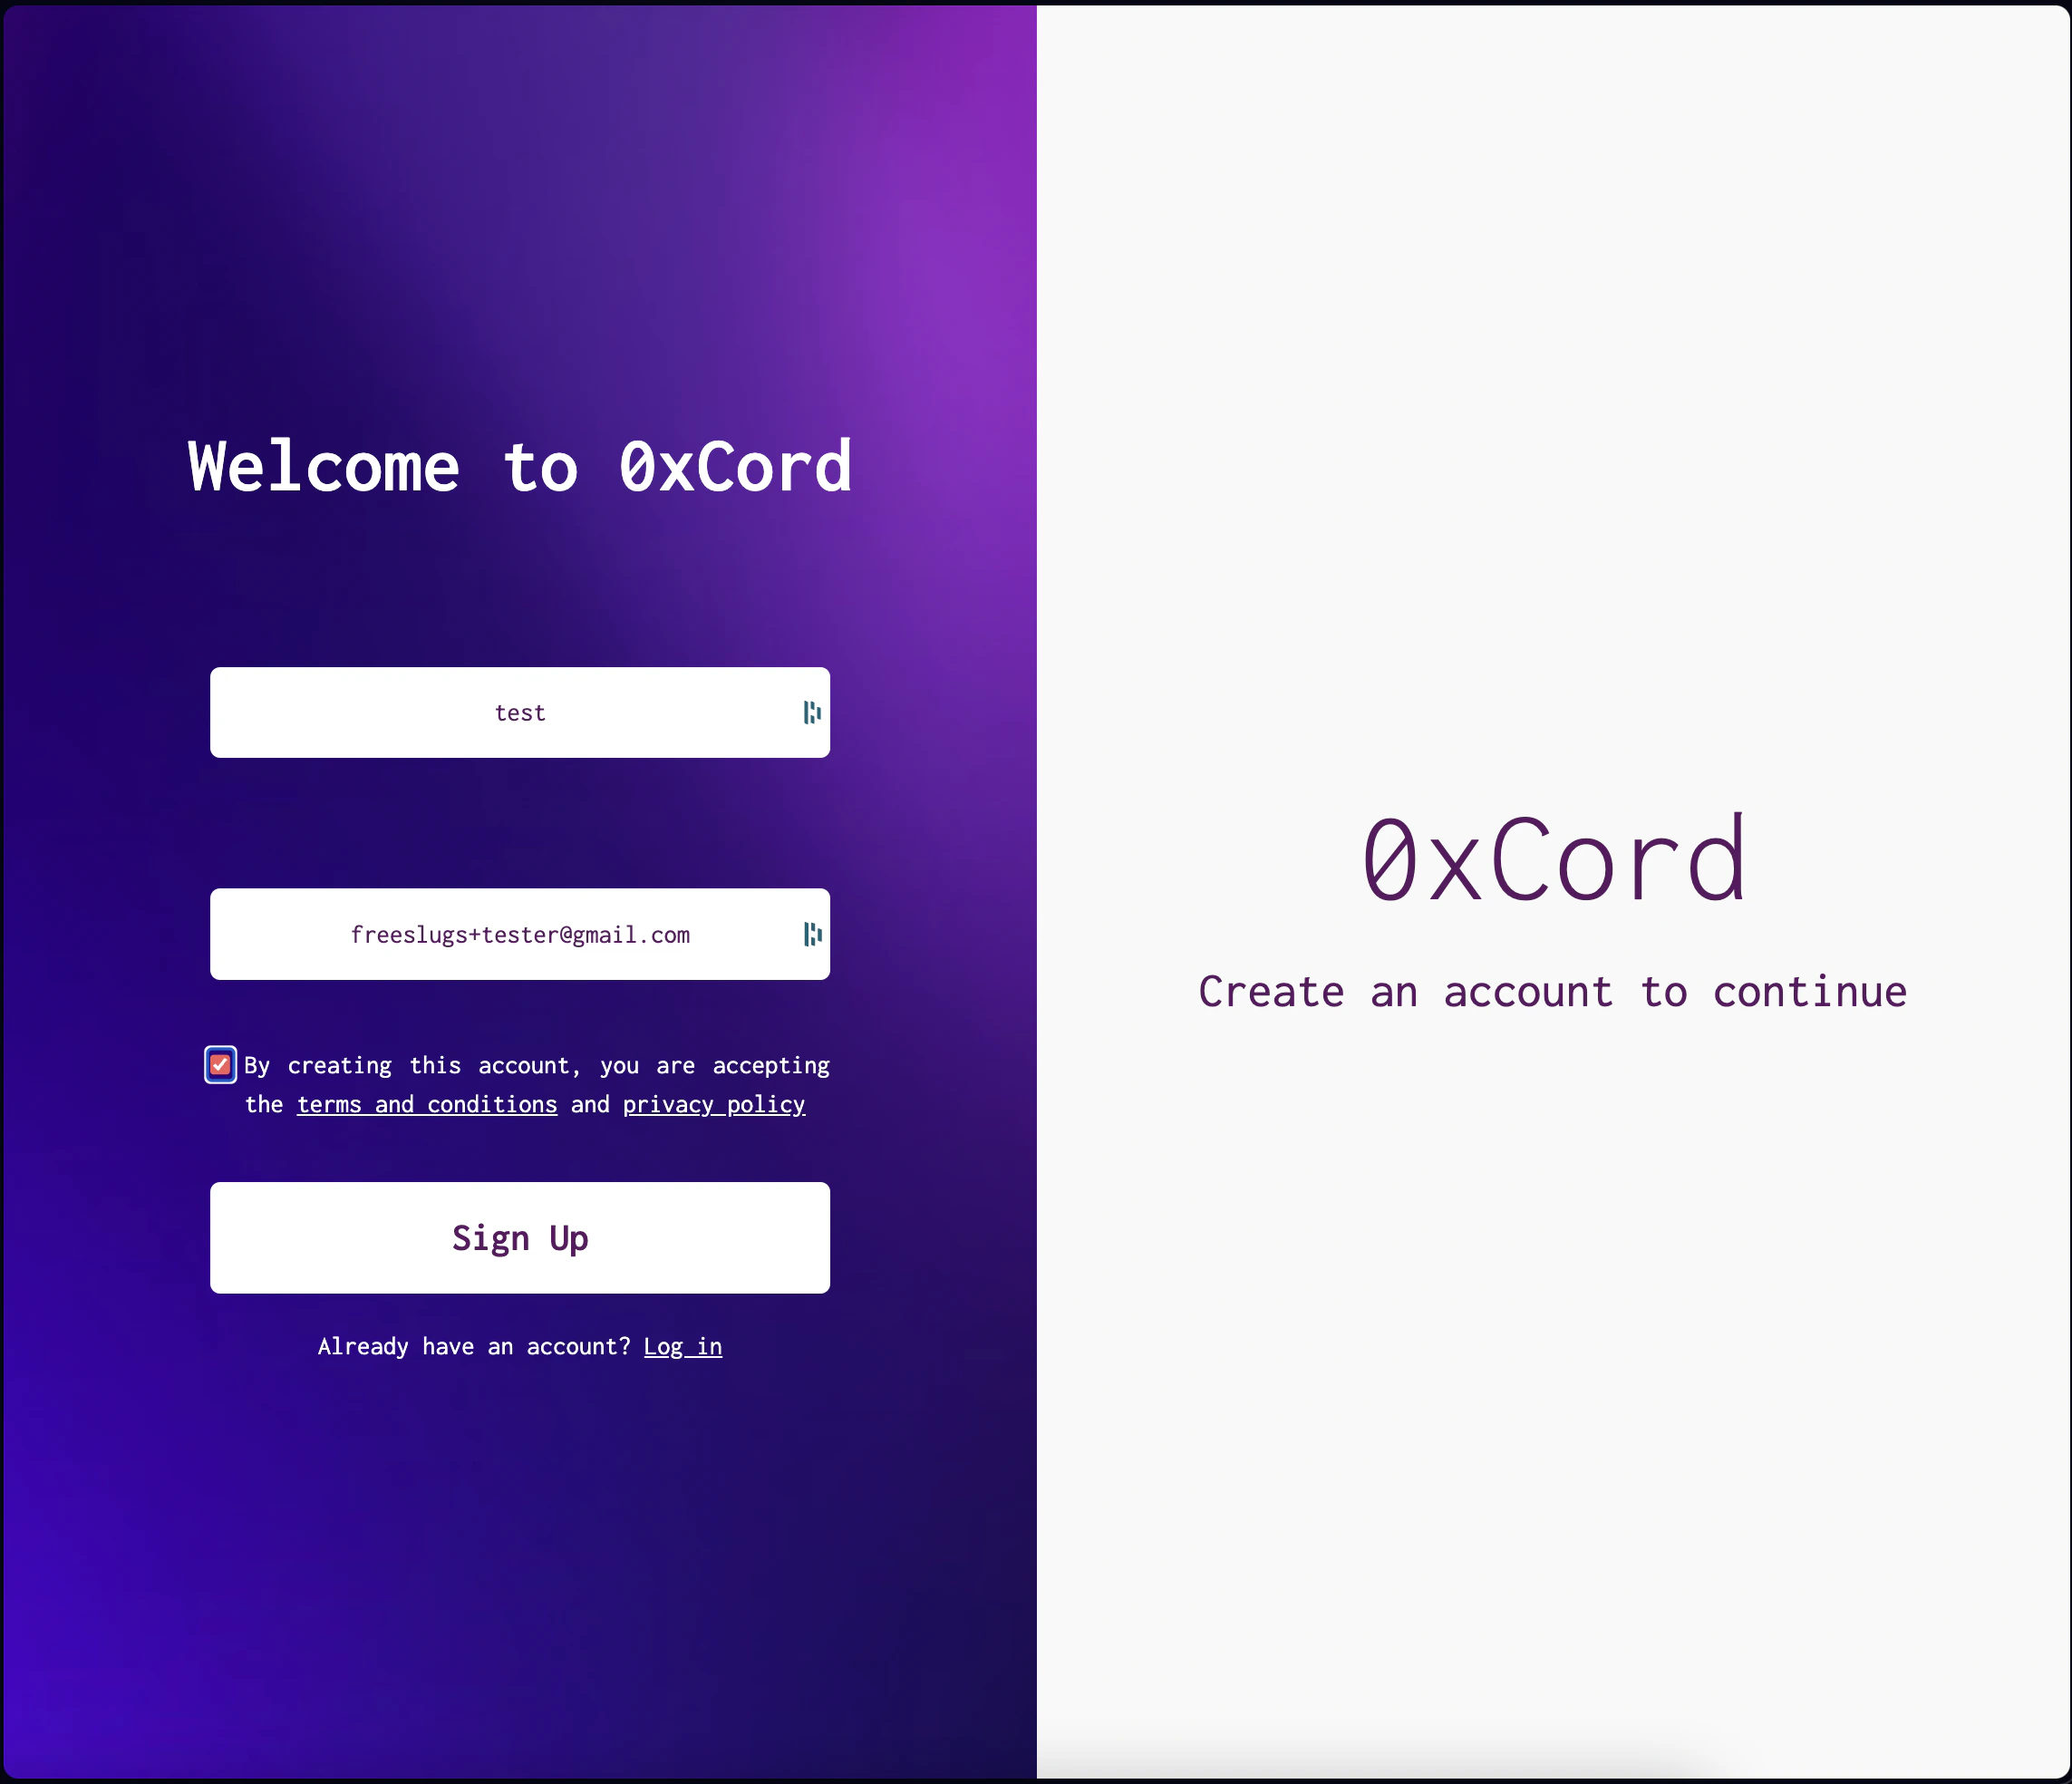
To begin, go to [0xCord.com](https://0xCord.com). If you already have an account, click on the "Login" button to initiate the login process. If you are new to 0xCord, click on the "Sign Up" button to create a new account and proceed with the login process.
 ## Login and Email Verification
To access your 0xCord account, you will receive a magic link via email. Enter your email address and click "Send Magic Link". Check your inbox for the email from 0xCord and click on the magic link to proceed with the login process.
## Creating a New dApp
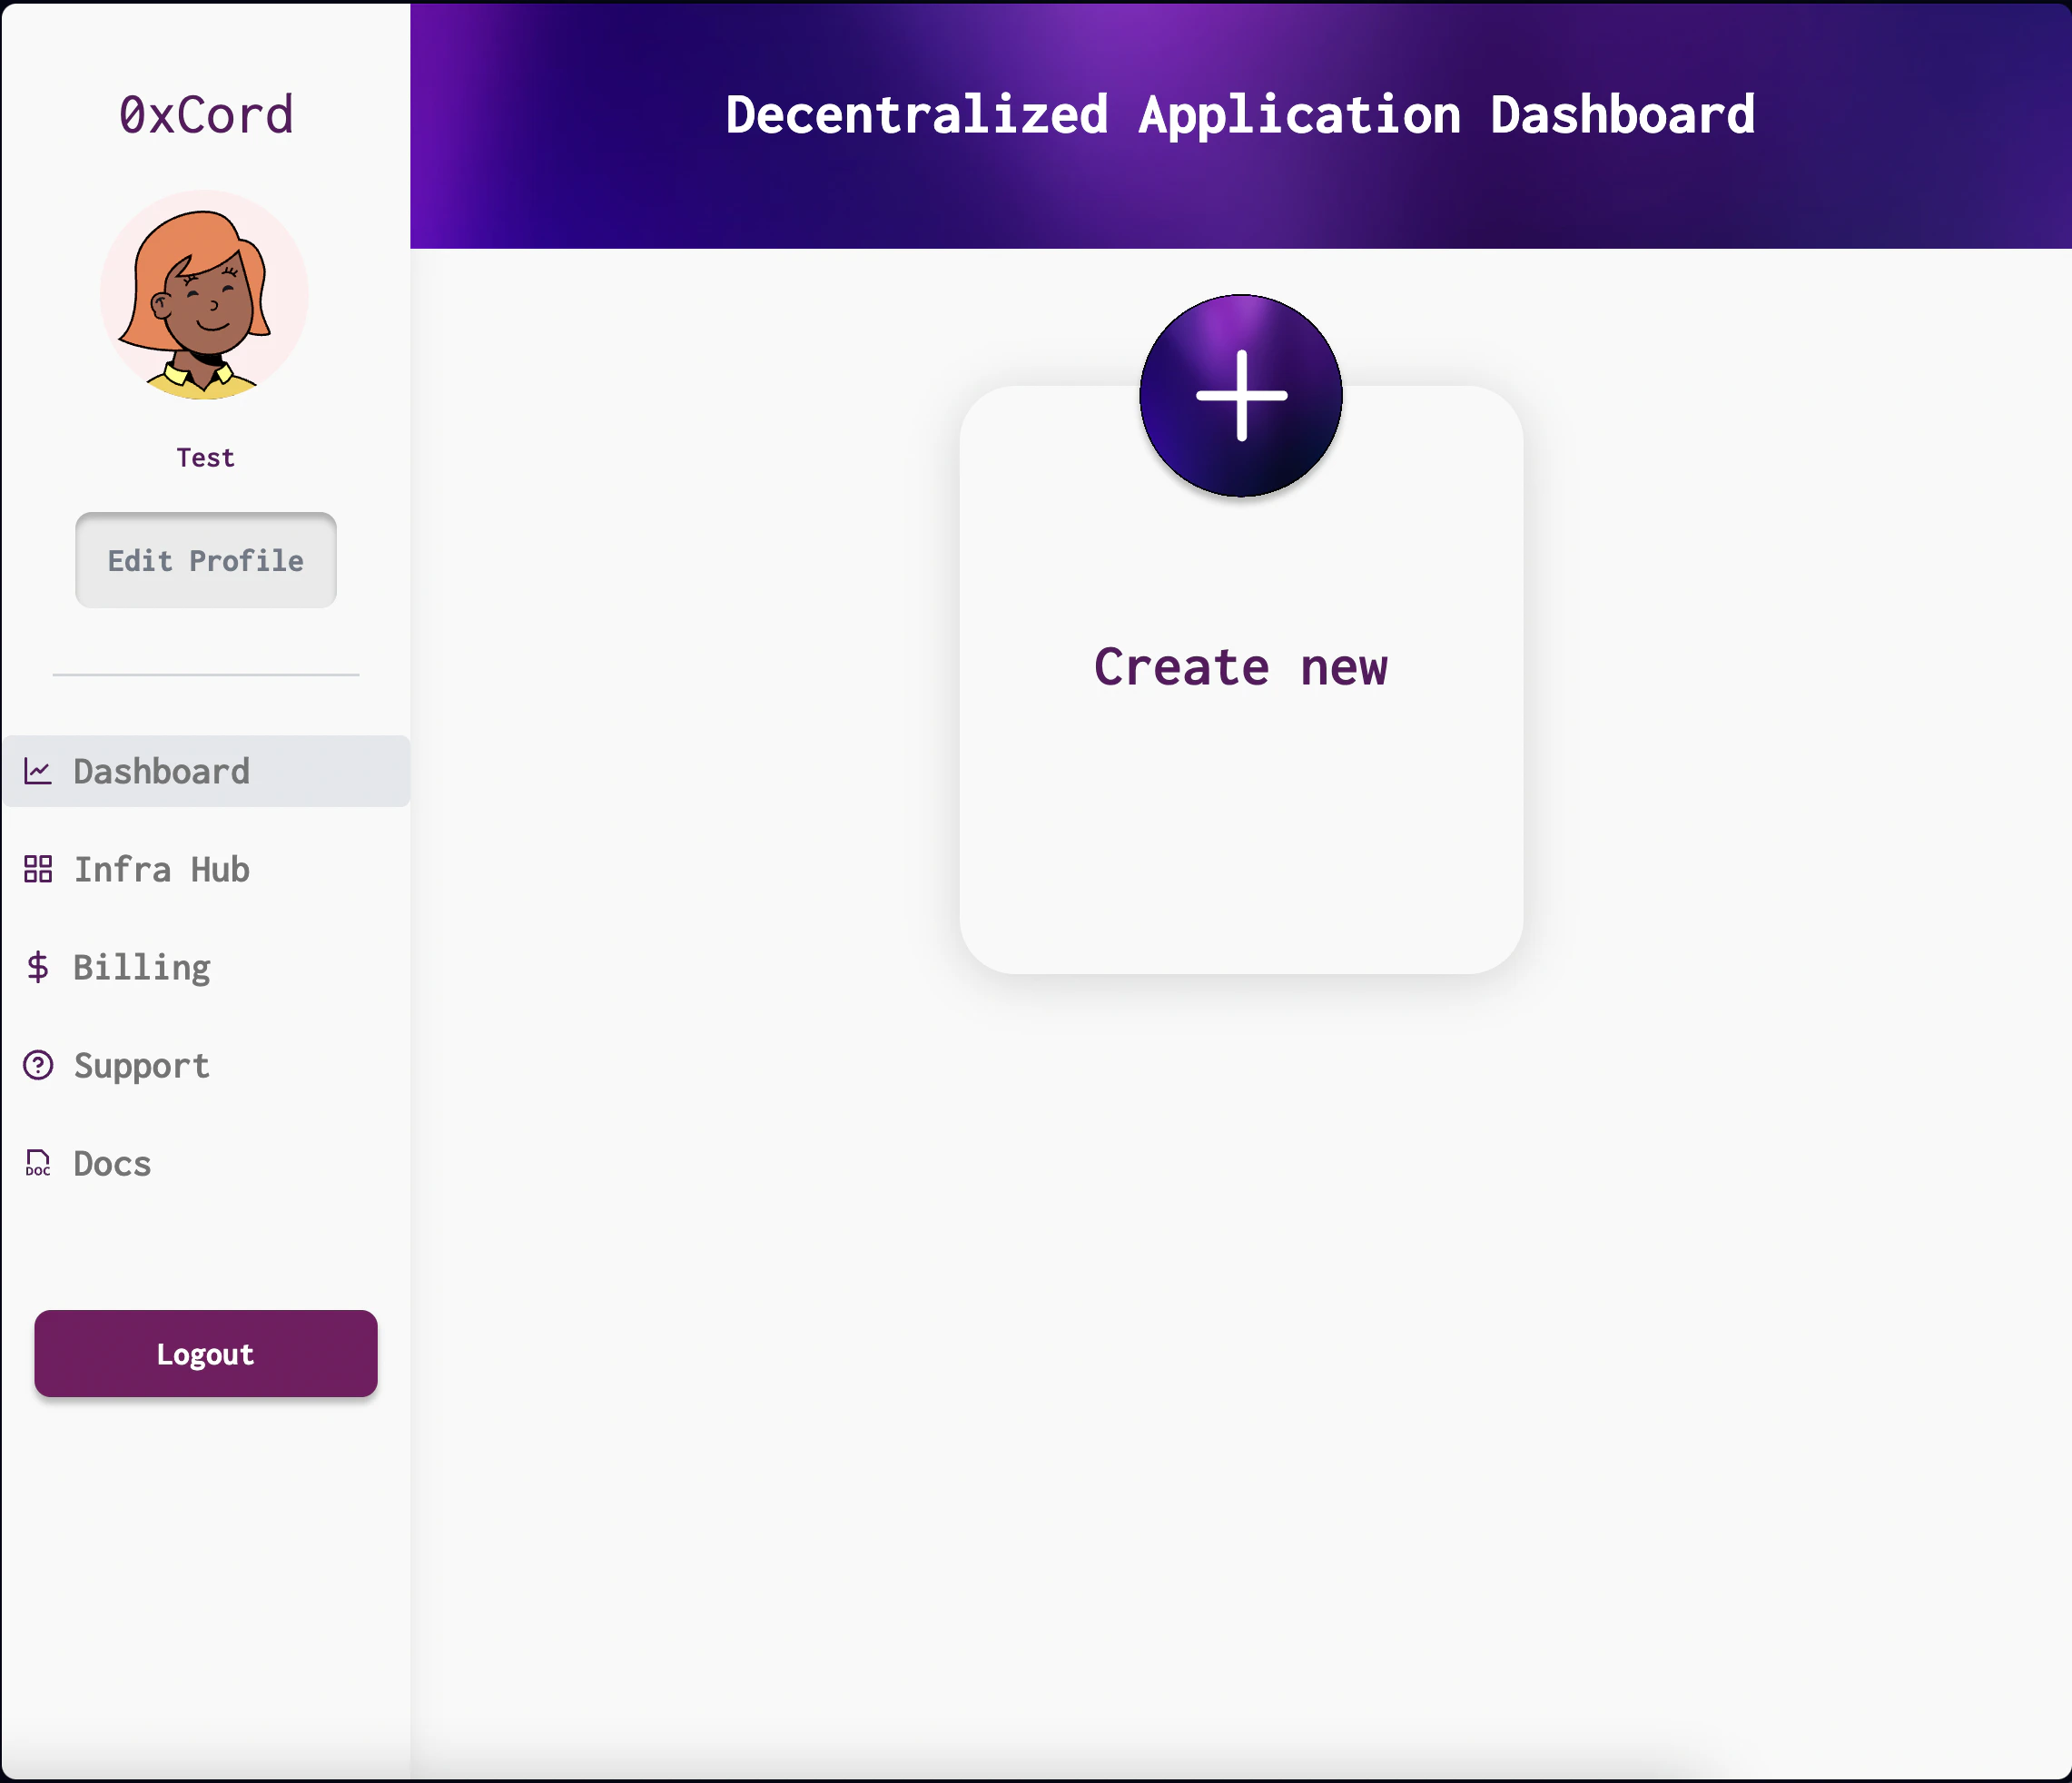
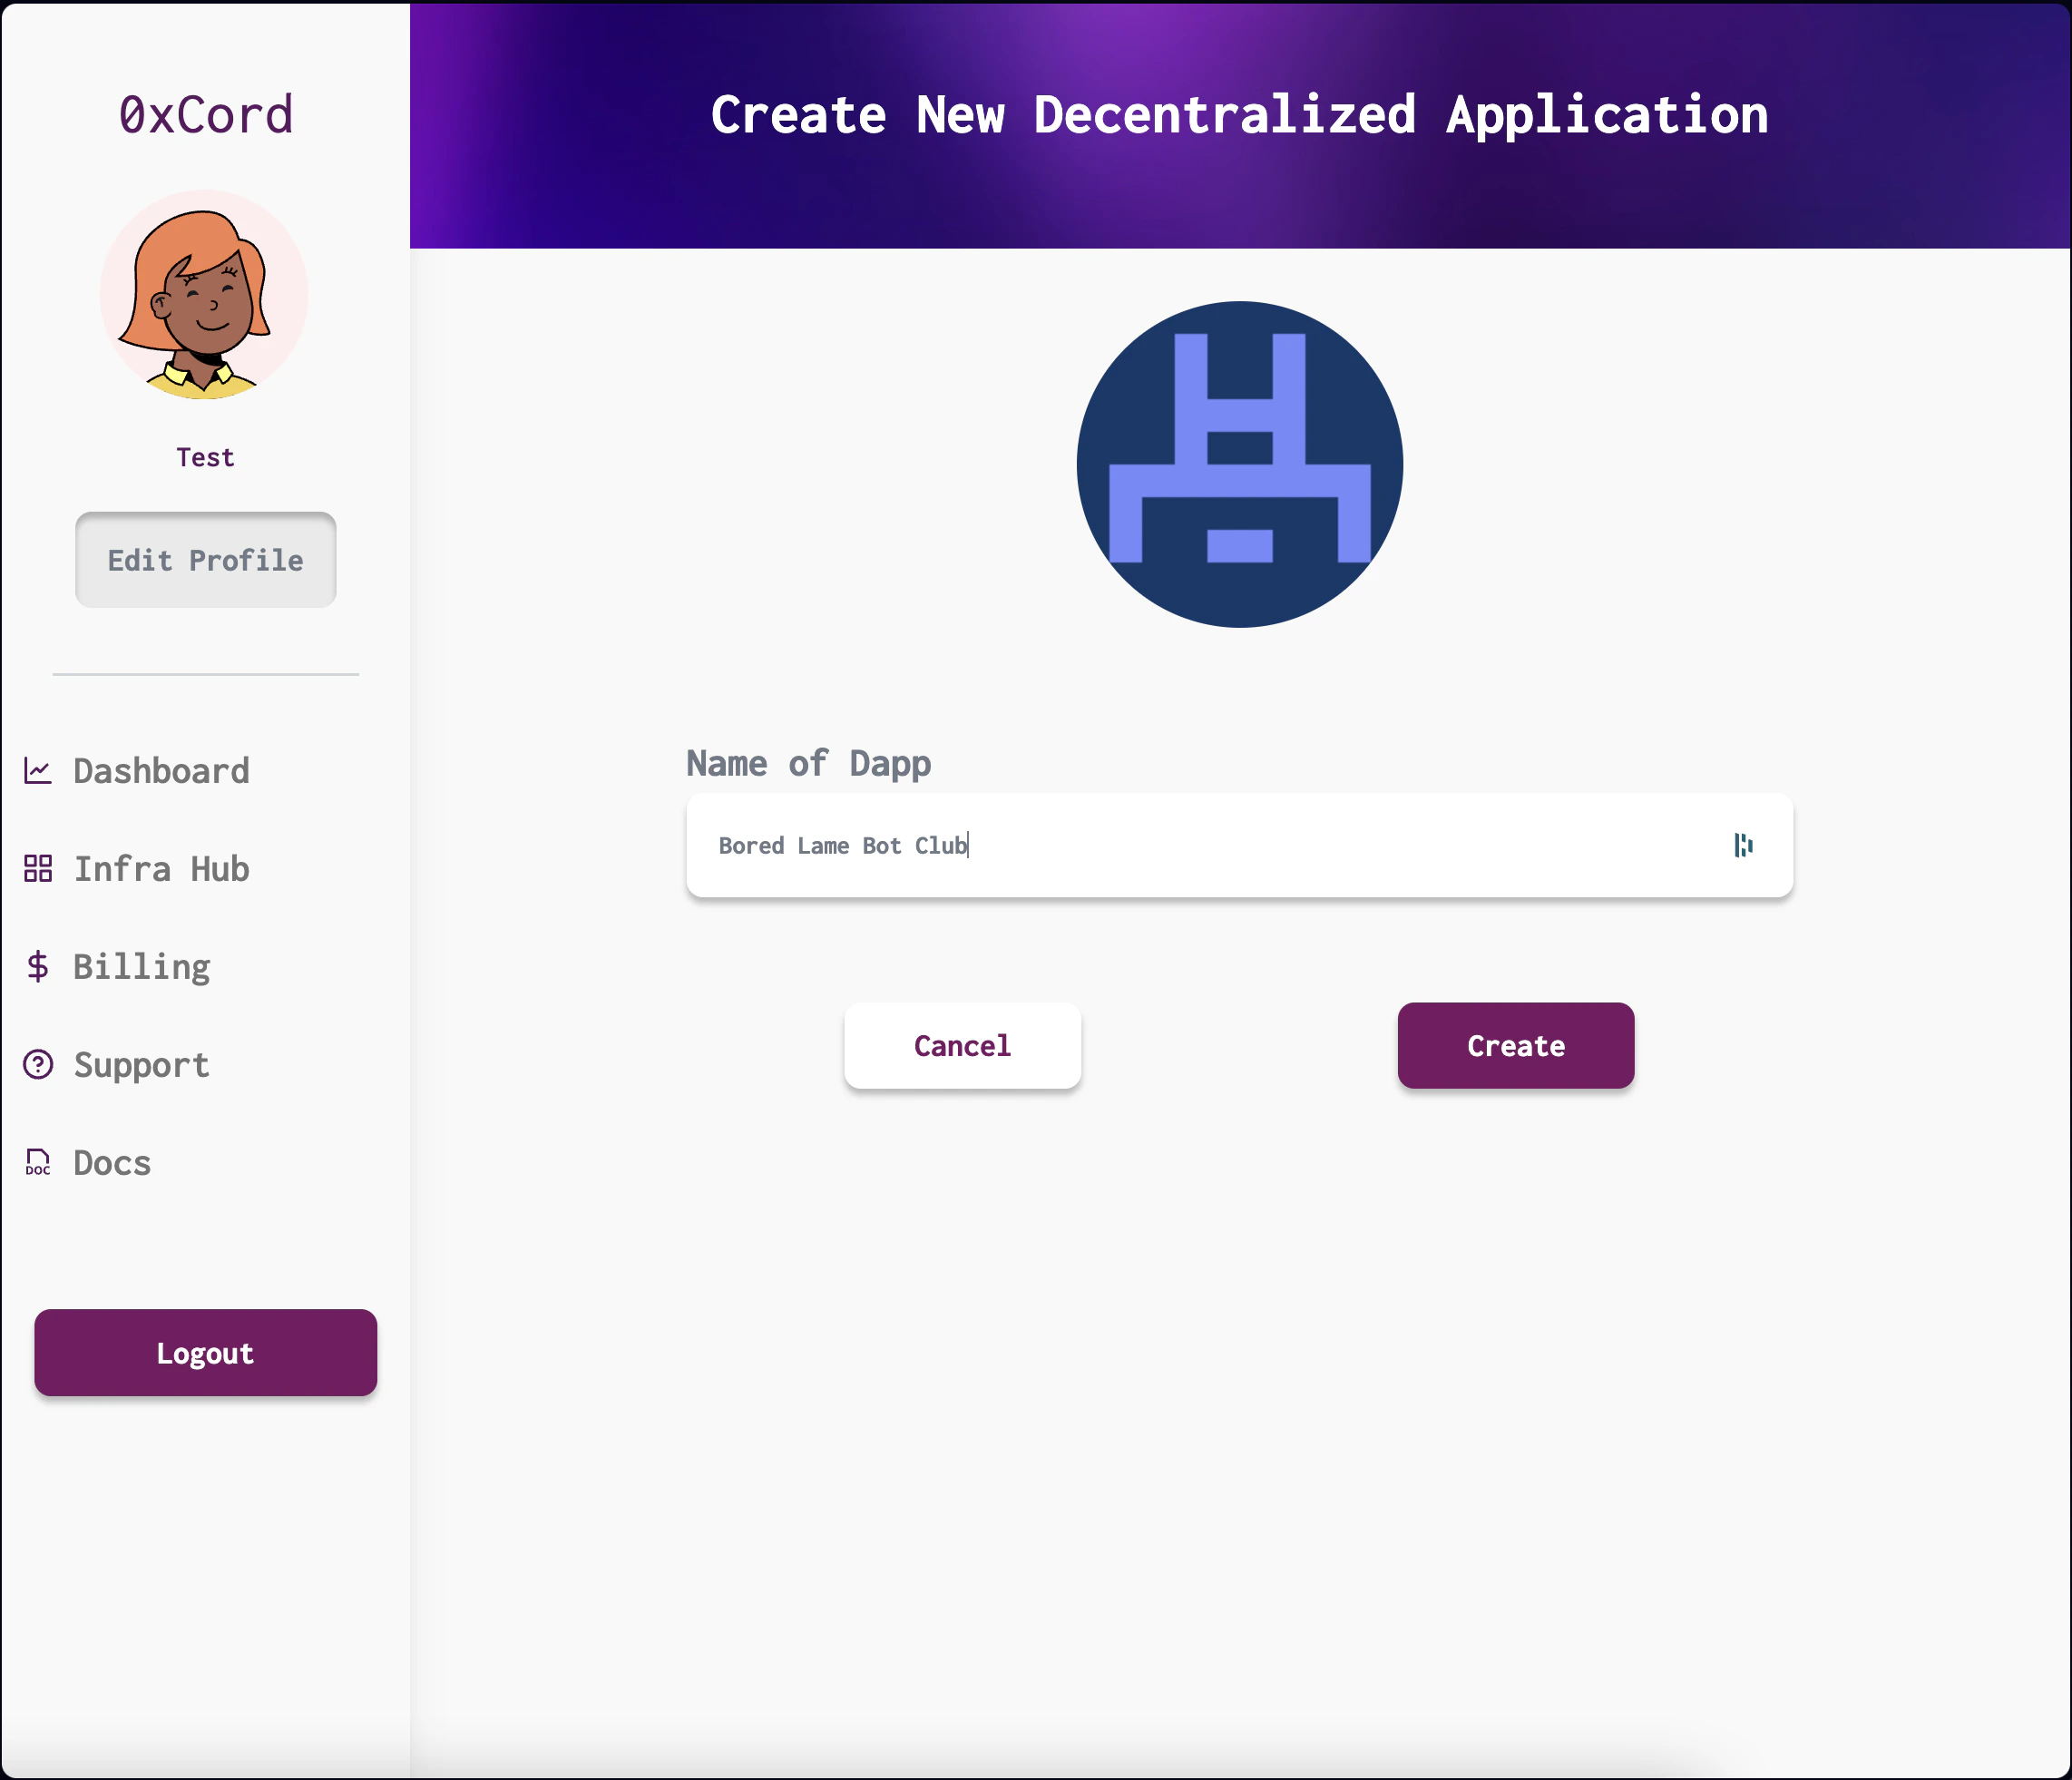
Once logged in, you will be redirected to your 0xCord dashboard. Click on the "Create New dApp" button and provide a name for your dApp. Click "Create" to proceed.
## Login and Email Verification
To access your 0xCord account, you will receive a magic link via email. Enter your email address and click "Send Magic Link". Check your inbox for the email from 0xCord and click on the magic link to proceed with the login process.
## Creating a New dApp
Once logged in, you will be redirected to your 0xCord dashboard. Click on the "Create New dApp" button and provide a name for your dApp. Click "Create" to proceed.
 ## Provisioning Infrastructure
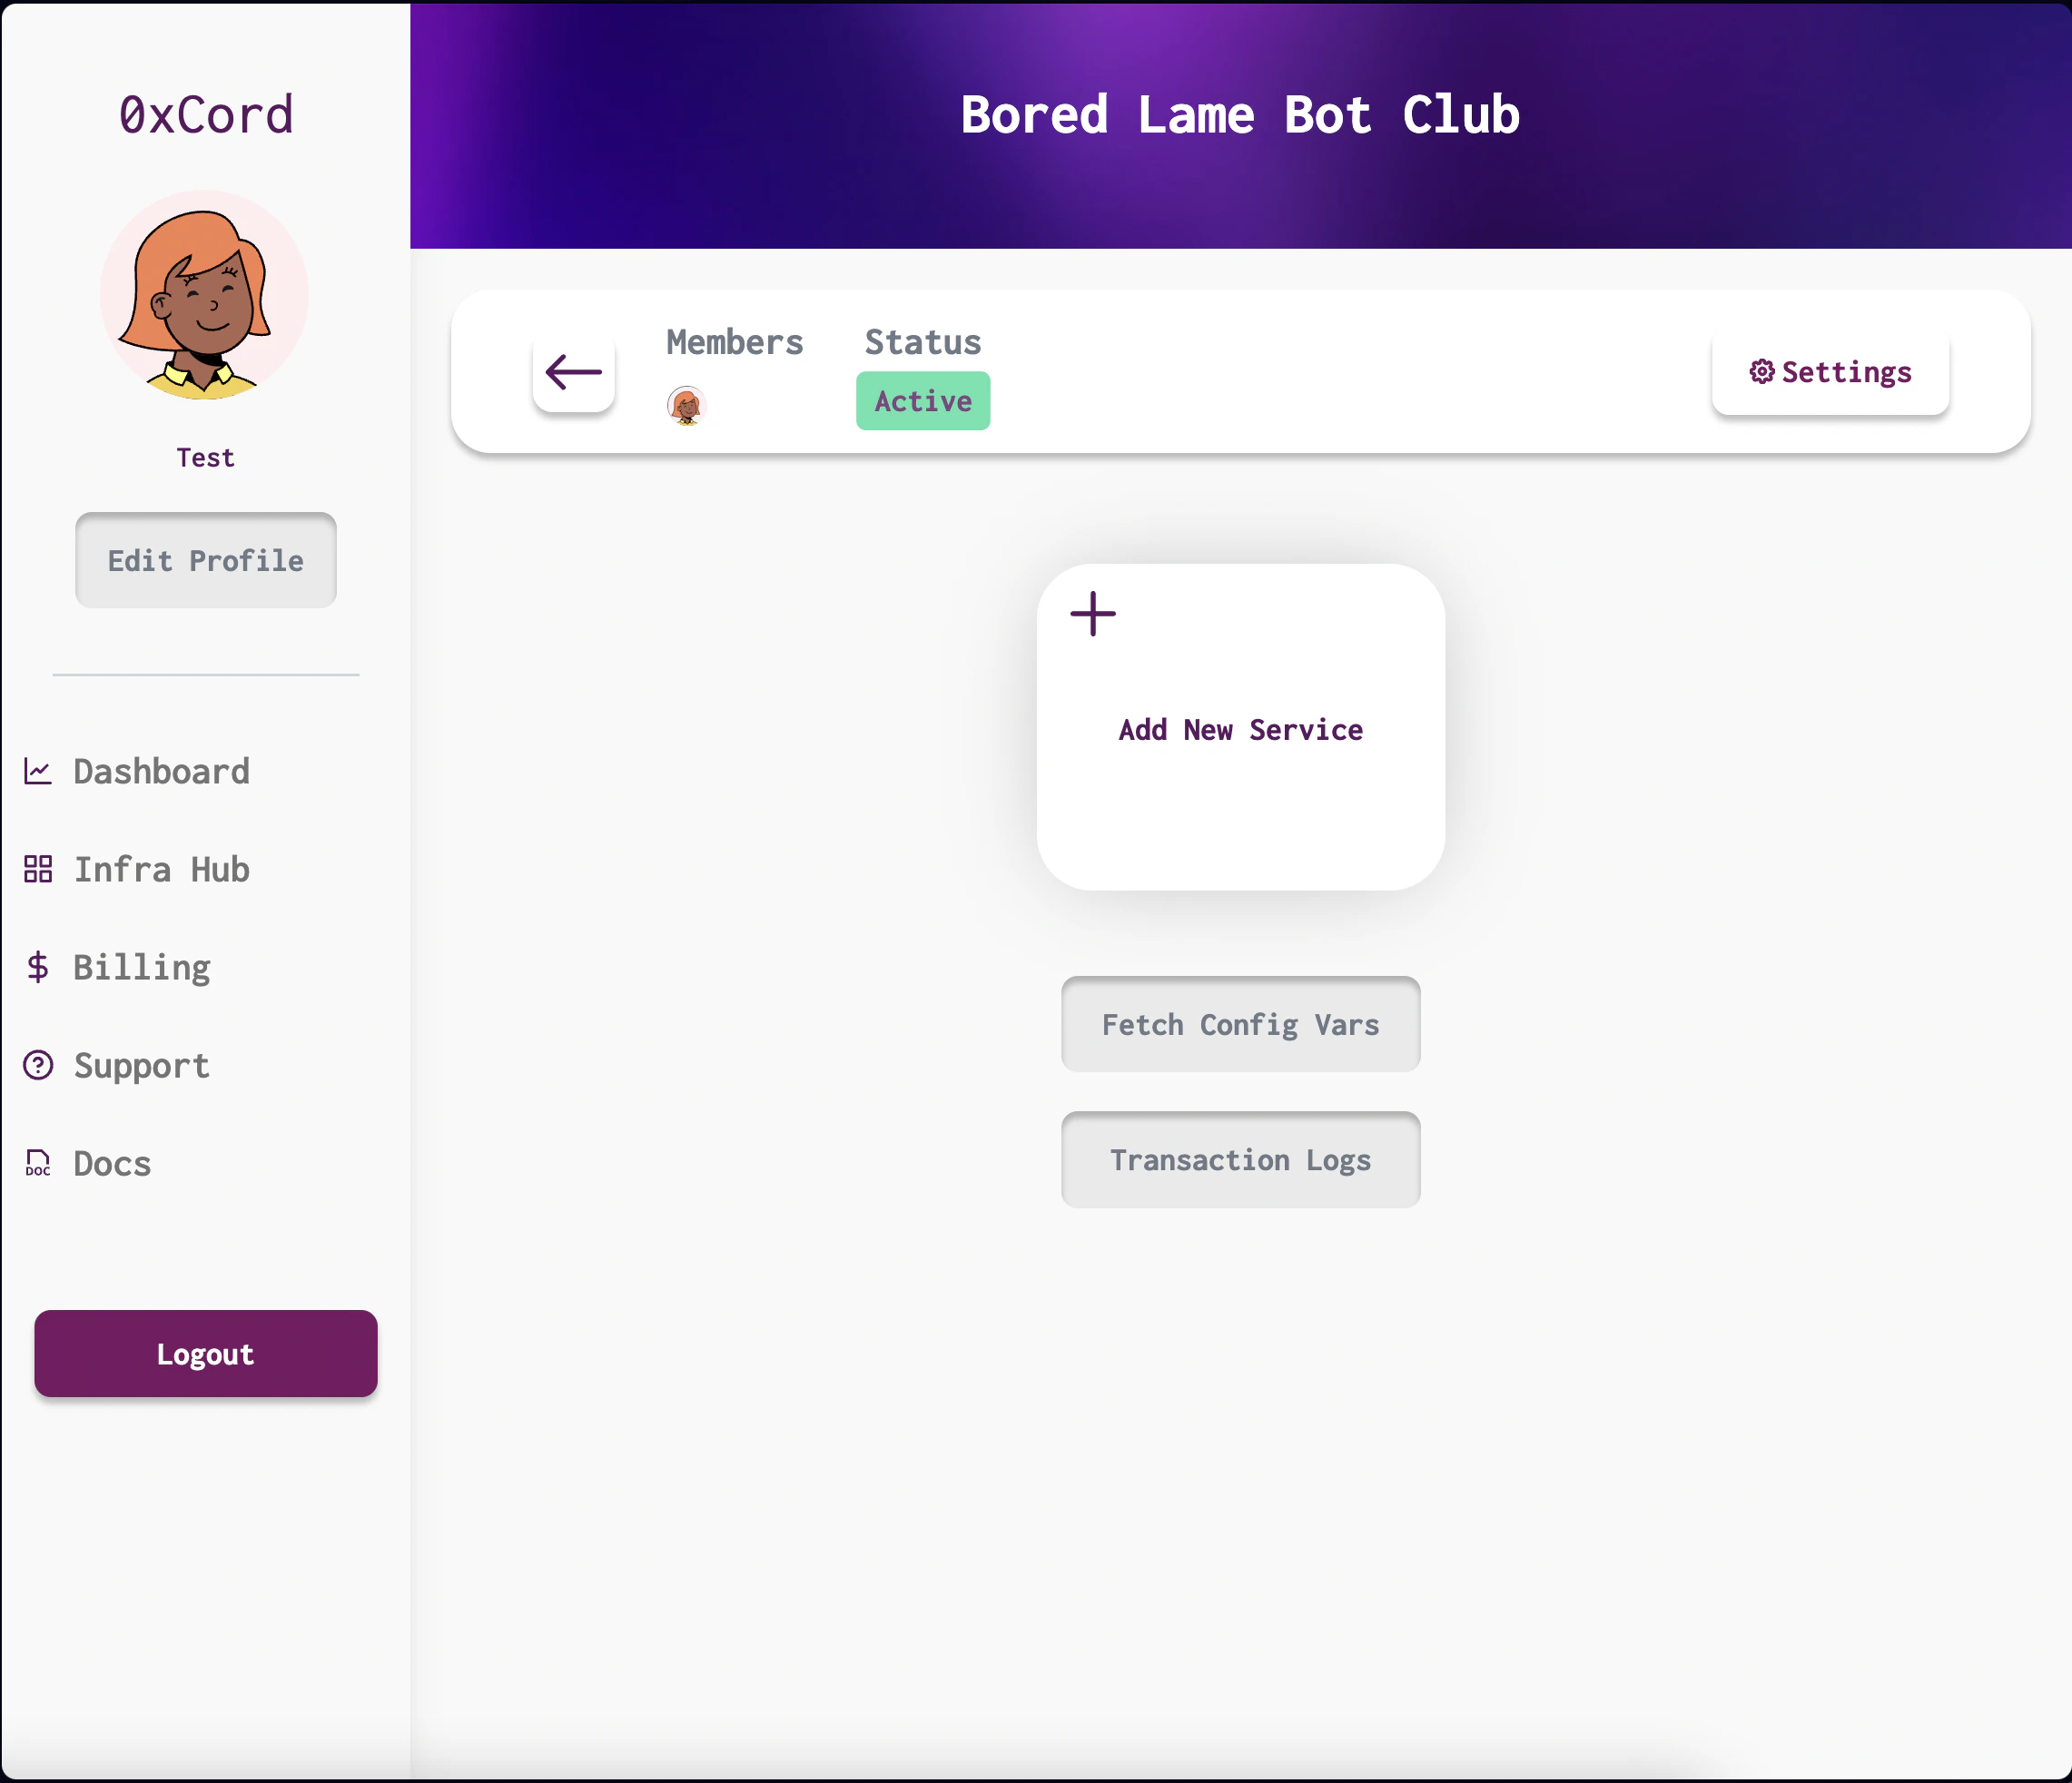
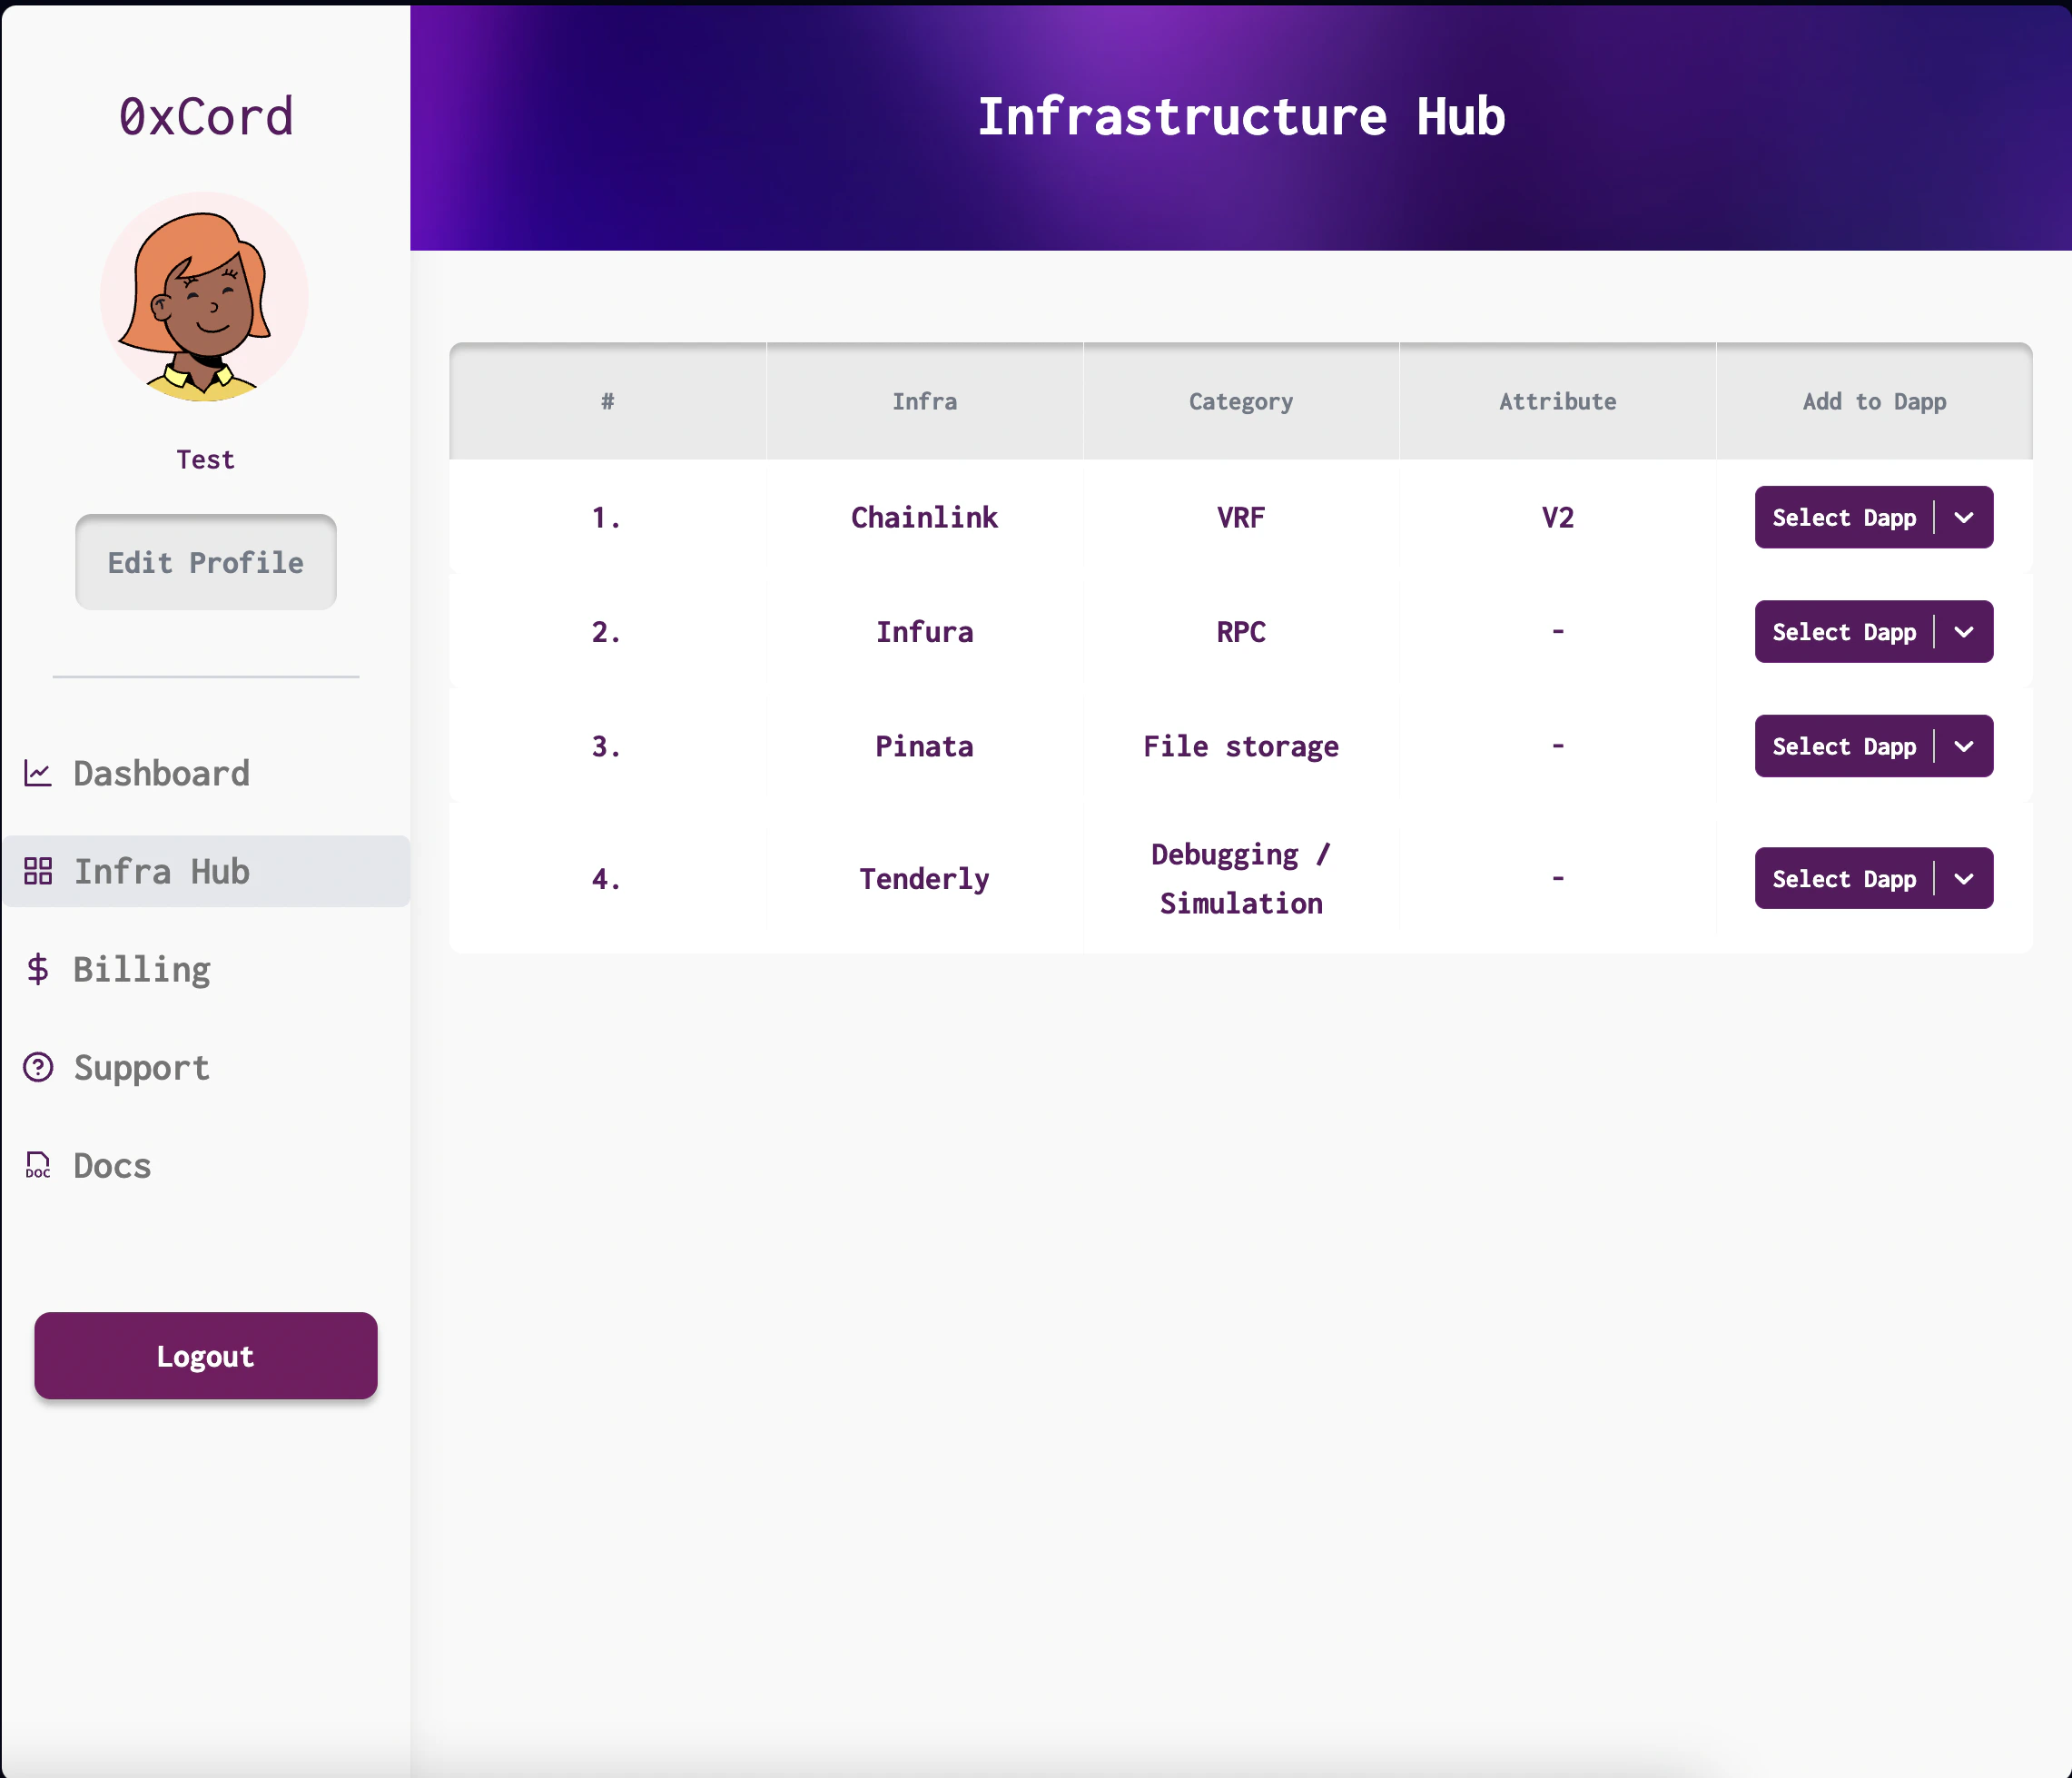
After creating your dApp, you will be taken to the Infrastructure Hub. Here, you can provision the required infrastructure for your dApp, including Chainlink and other services.
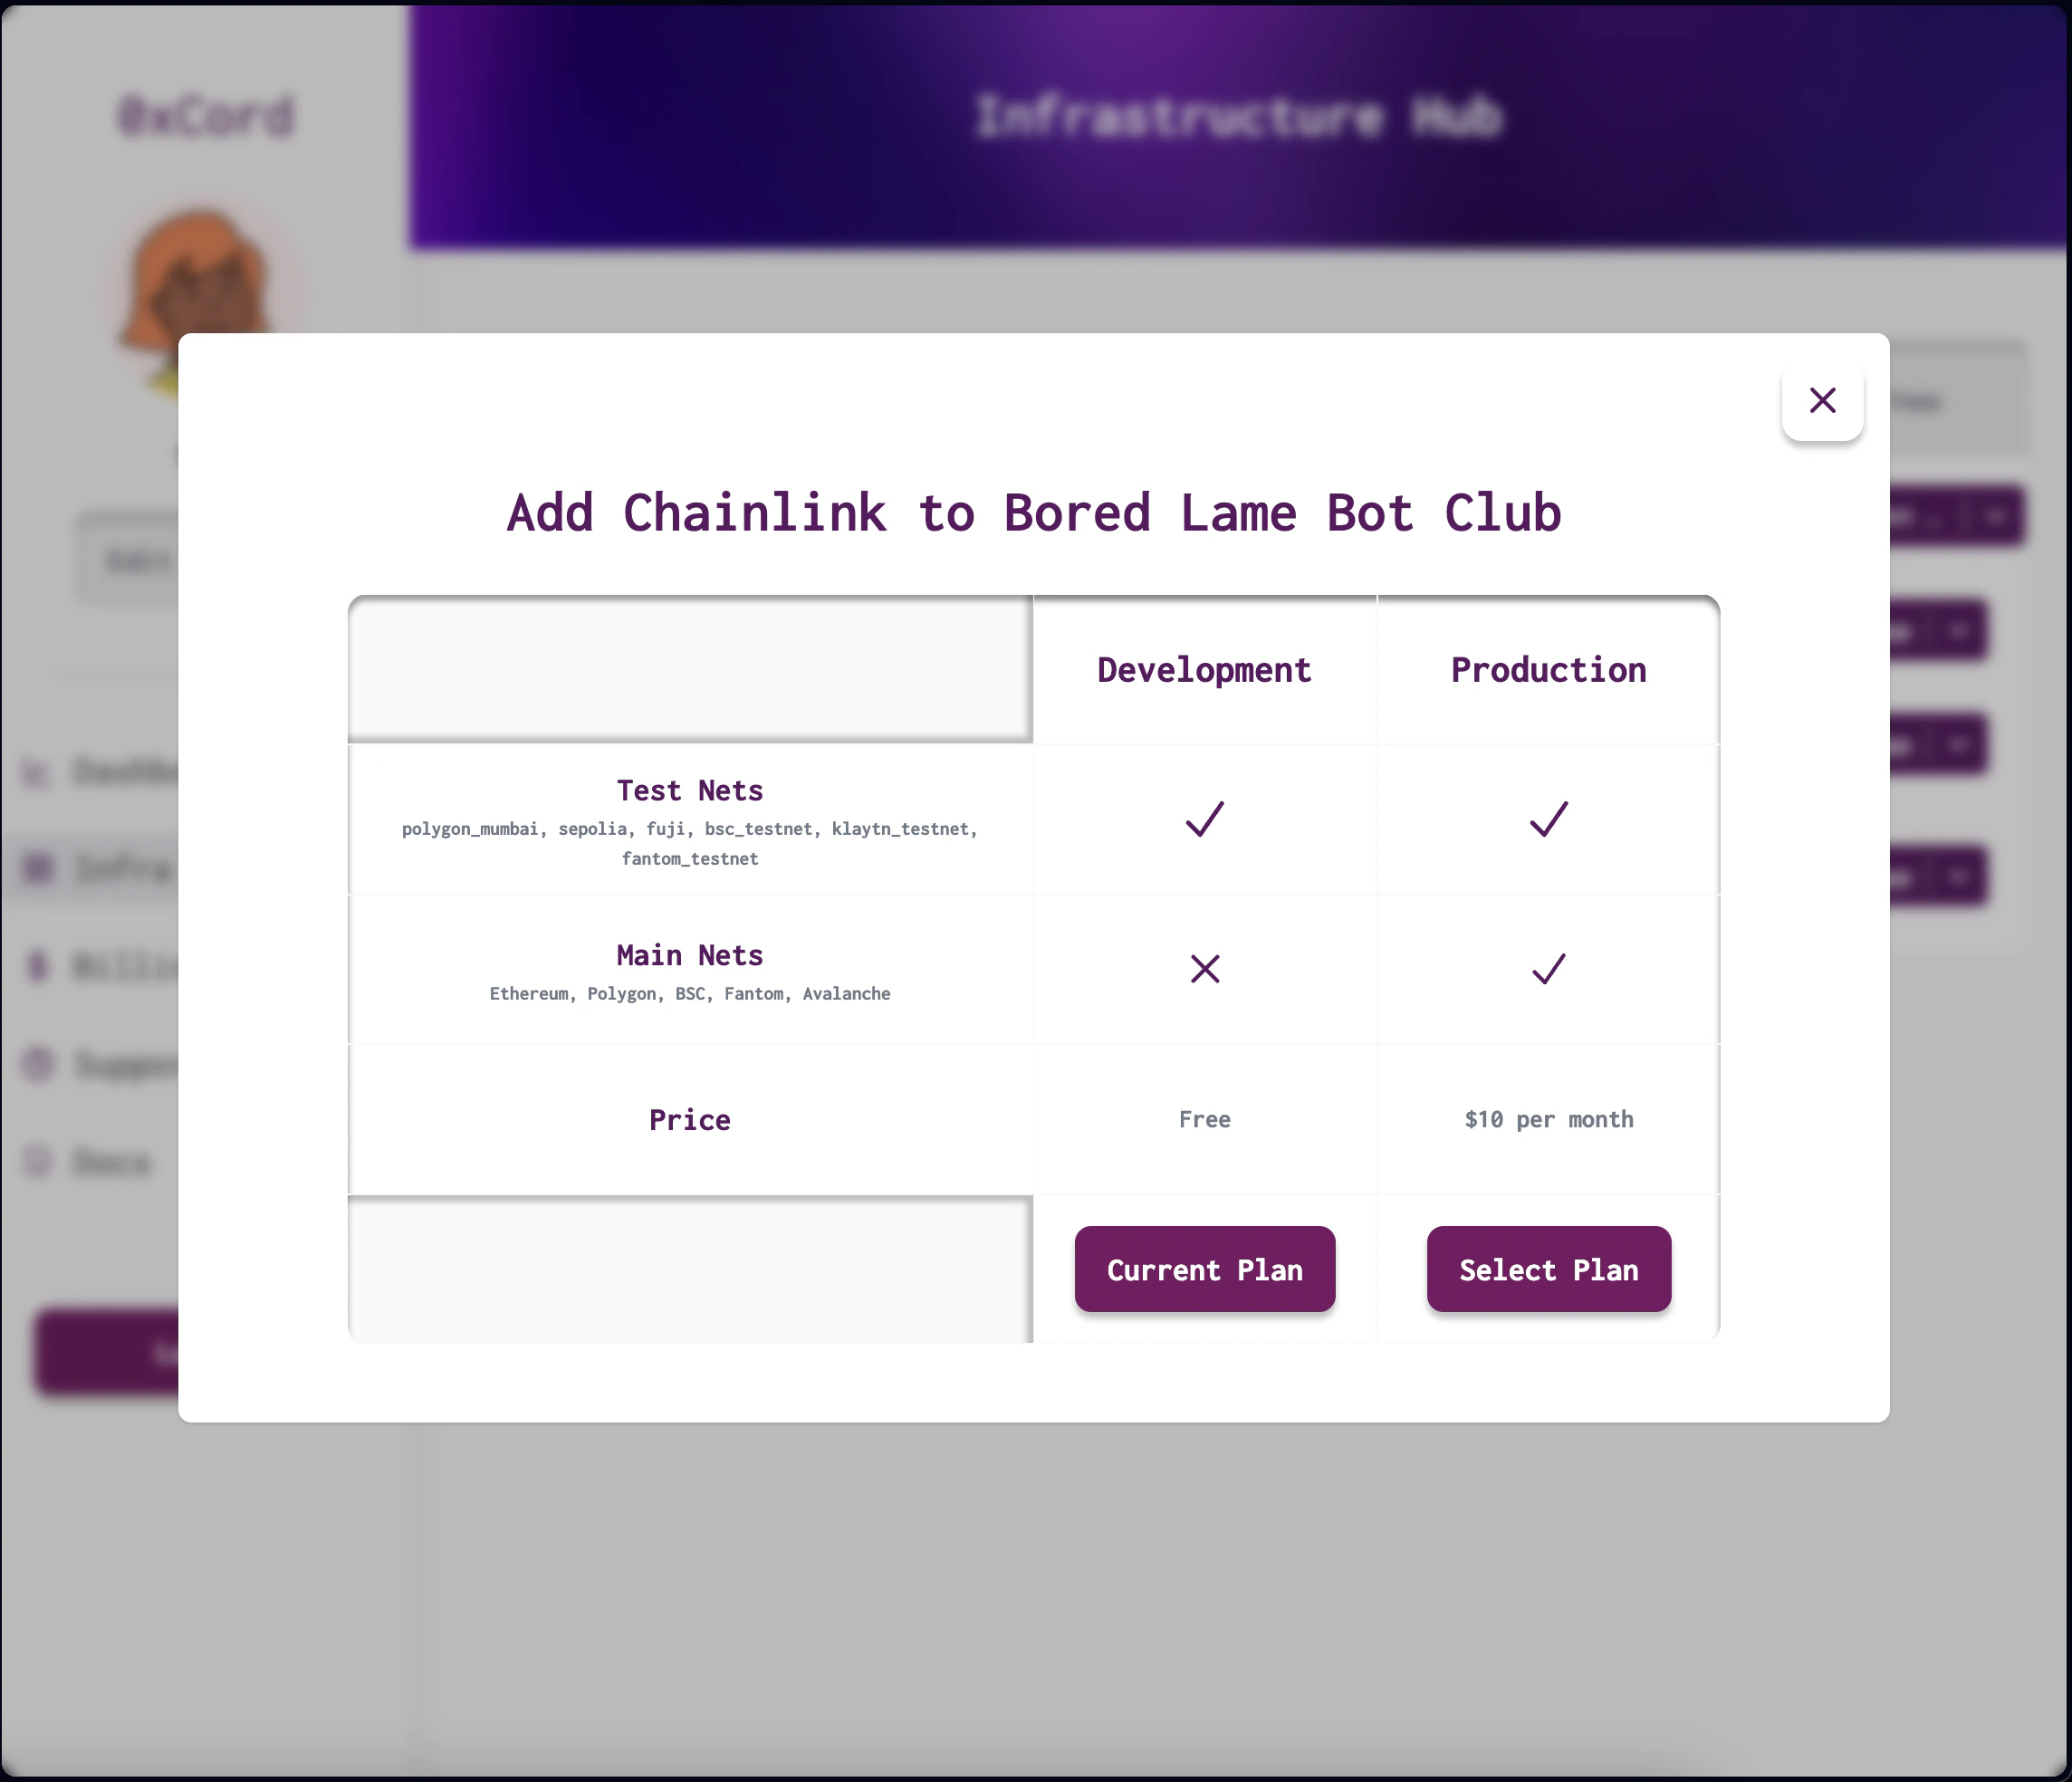
To provision infrastructure, select the desired services and click "Add new Service".
## Provisioning Infrastructure
After creating your dApp, you will be taken to the Infrastructure Hub. Here, you can provision the required infrastructure for your dApp, including Chainlink and other services.
To provision infrastructure, select the desired services and click "Add new Service".
 ## Configuring Variables
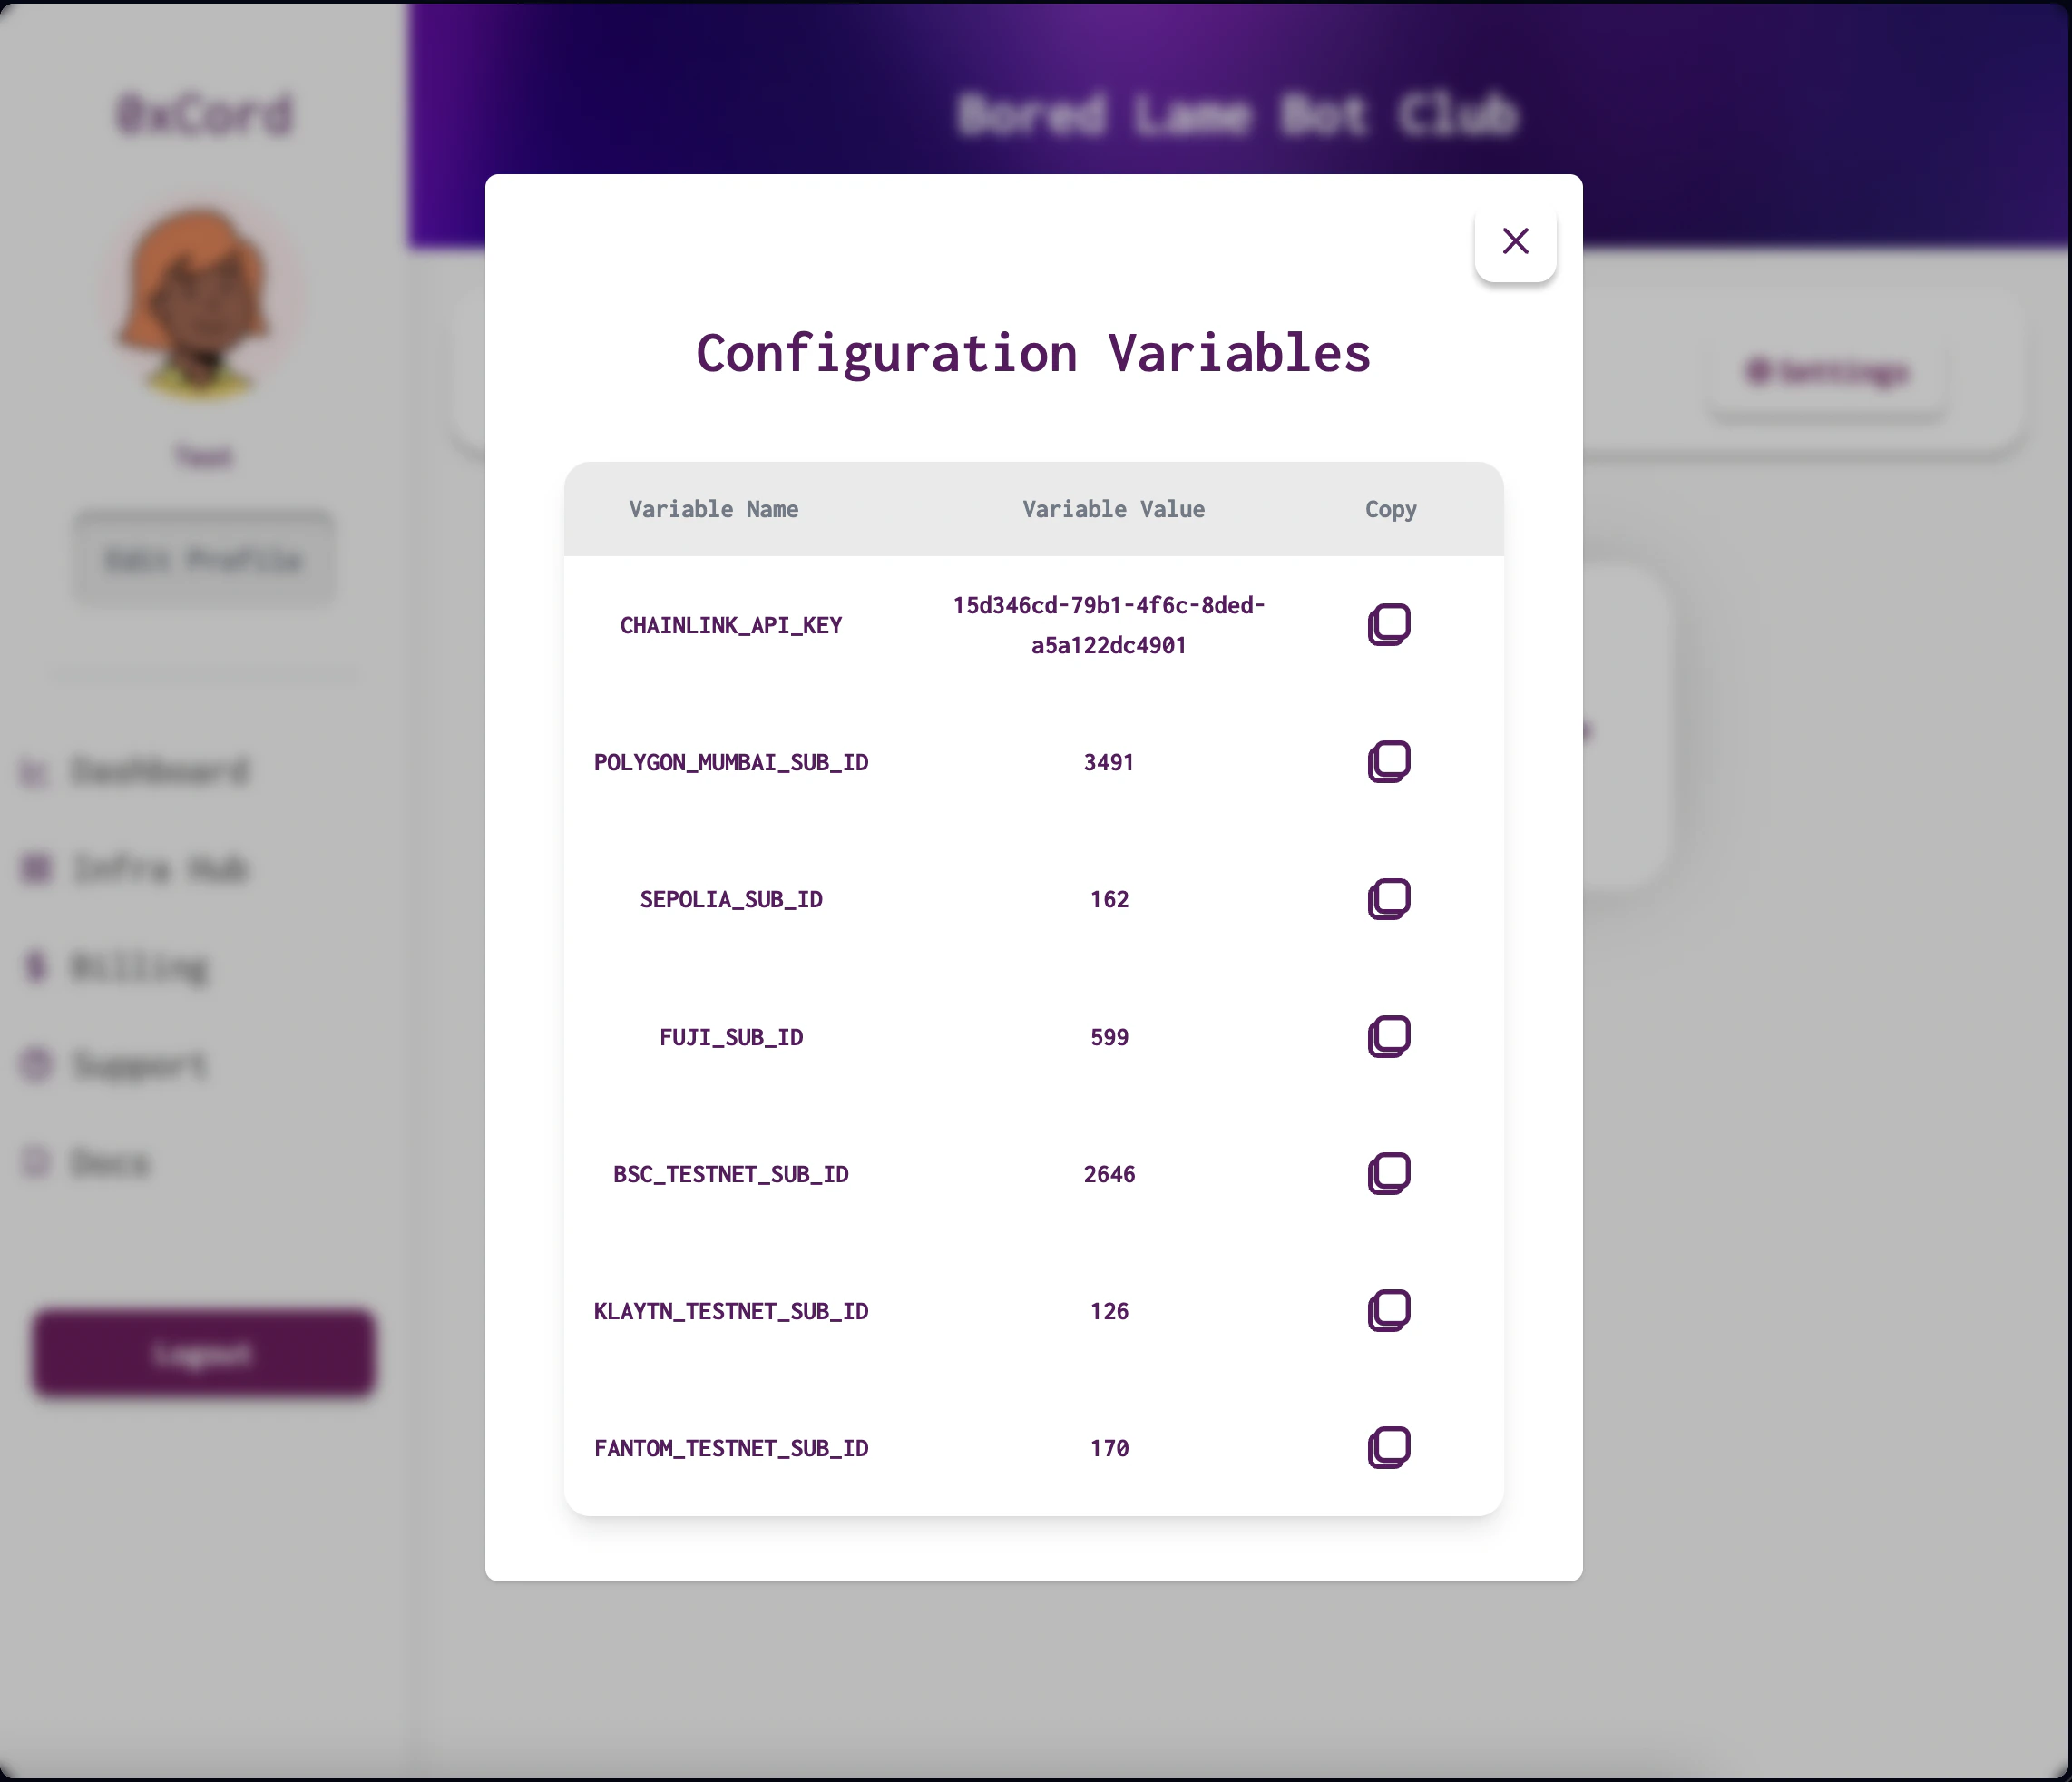
Upon provisioning infrastructure, you will receive configuration variables for your dApp. These variables are essential for connecting and authenticating with the services. Access them in the "Config Vars" section of your dApp settings.
## Configuring Variables
Upon provisioning infrastructure, you will receive configuration variables for your dApp. These variables are essential for connecting and authenticating with the services. Access them in the "Config Vars" section of your dApp settings.
 Now that you have set up 0xCord and learned the basics, it's time to explore the powerful features of Chainlink VRF V2 and Chainlink Functions to enhance your decentralized applications. Discover how to incorporate secure randomness and integrate external computations using Chainlink, taking your 0xCord experience to the next level.
Generate provably random numbers with Chainlink VRF V2 for fairness and randomness in your dApps.
Integrate external computations, data, and services using Chainlink Functions.
Now that you have set up 0xCord and learned the basics, it's time to explore the powerful features of Chainlink VRF V2 and Chainlink Functions to enhance your decentralized applications. Discover how to incorporate secure randomness and integrate external computations using Chainlink, taking your 0xCord experience to the next level.
Generate provably random numbers with Chainlink VRF V2 for fairness and randomness in your dApps.
Integrate external computations, data, and services using Chainlink Functions.